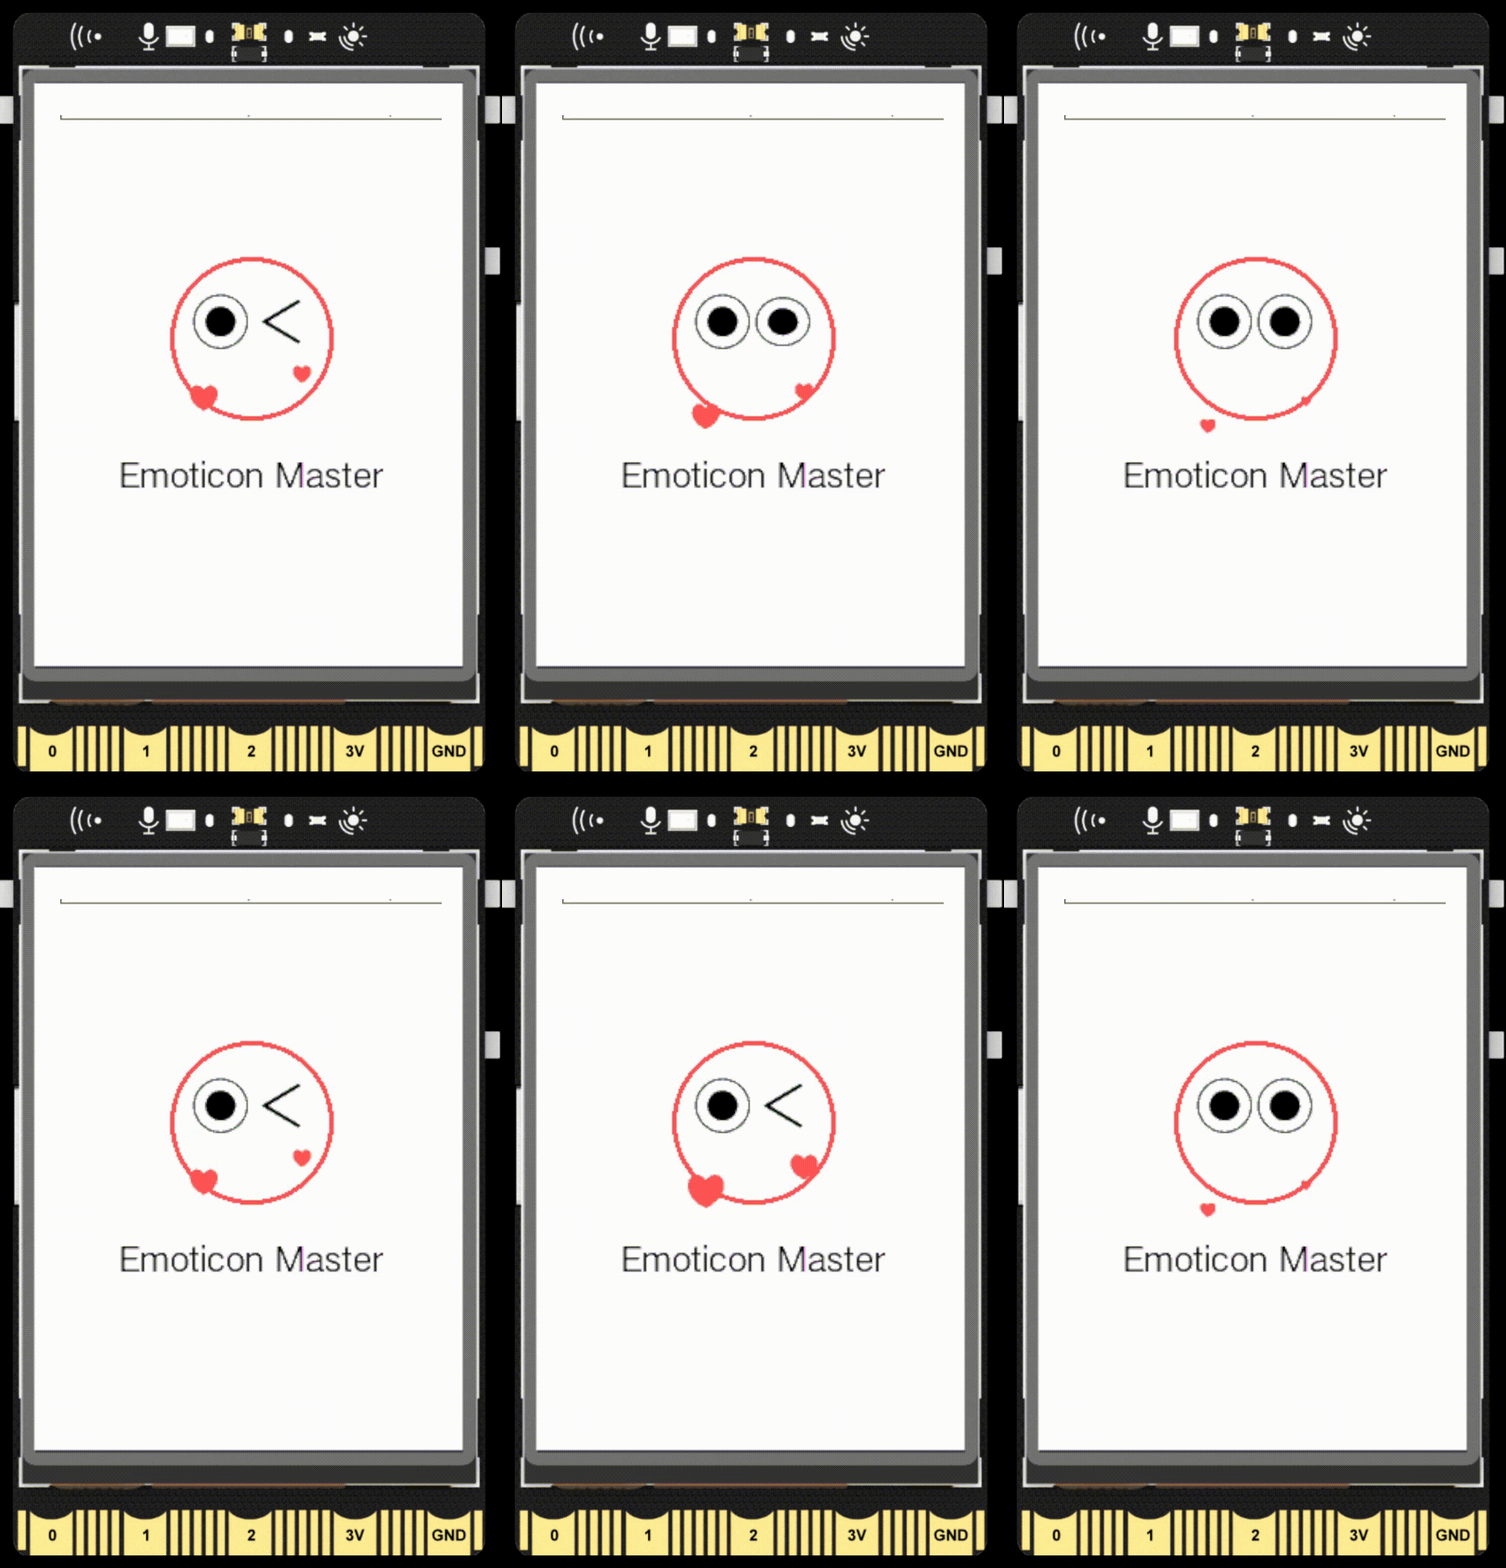
4.Emoticon Master
Project Introduction
Based on UNIHIKER's 2.8-inch screen, you can realize the EMOJI display function, and you can make a desktop EMOJI ornament.
This project is mainly through the draw_emoji(), the realization of the EMOJI display function, a better demonstration of the teaching UNIHIKER display GIF picture function. You can even make your own GIF meme

Things used in this project
Hardware components
- UNIHIKER
Code 1
To display a wink emoji on the UNIHIKER screen, we first use the instantiated GUI object to call the draw_circle() function to draw a circle. Then, we call the draw_emoji() function to add the wink emoji inside the circle.
from unihiker import GUI

#Instantiate a GUI object.
gui = GUI()

#Create a circle and set color/size
circle = gui.draw_circle(x = 120,y = 140,r = 50,width = 3,color = "#FF6666")

#Create a wink emoji and set size
emj = gui.draw_emoji(emoji = "Wink",x = 120,y = 140,duration = 0.2)

#set the origin point as the center of the emoji
emj.config(origin = "center")

#set the width of the emoji as 100
emj.config(w = 100)

#Draw a text
Text = gui.draw_text(text = "Emoticon Master",x = 120,y = 210,font_size = 15, color = "#000000")

#Set the origin point as the top of the text
Text.config(origin = "top")

while True:
    pass
Demo Effect 1

Code 2
To display a wink emoji on the UNIHIKER screen, We start by passing a series of images to the code's sibling directory named custom-1.png, custom-2.png .......
Then, in the sample code, we call the draw_emoji() function to let the picture play as a GIF.
from unihiker import GUI
import time
gui=GUI()

#emj1 = gui.draw_emoji(x=0, y=0, w=100, h=100, emoji="Wink", duration=0.1, onclick=lambda:cb("emojis clicked"))
#emj2 = gui.draw_emoji(x=120, y=200, w=100, h=100, emoji="Smile", duration=1,origin="center" ,
#onclick=lambda:cb("emojis clicked"))
# Into the image file path of the way, the same level of directory to put multiple frame image files, custom-1.png, custom-2.png, custom-3.png...
gui.draw_emoji(x=0, y=60, w=280,  emoji="custom", duration=0.3)

while True:
    time.sleep(1)
Demo Effect 2
