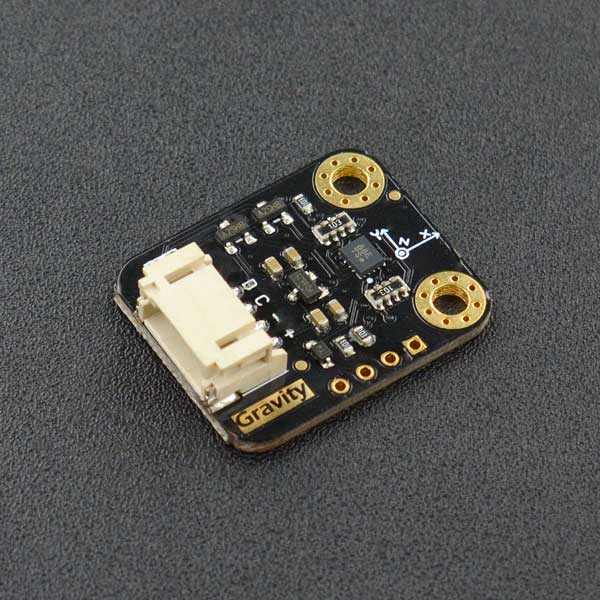
产品简介
DFRobot联合Bosch新推BMI160 6轴惯性运动传感器,采用MEMS传感器封装,将最顶尖的16位3轴加速度计和超低功耗3轴陀螺仪集成在一起。当加速度计和陀螺仪在全速模式下运行时,耗电典型值低至950µA,仅为市场上同类产品耗电量的50%或者更低。
Bosch BMI160专为智能手机、平板电脑、可穿戴设备设计,内置智能计步算法,可通过寄存器直接读取步数。内置的3轴加速度和3轴陀螺仪可以实现跑步,健身等运动检测。内置LDO电源管理芯片,支持3.2~6V宽电压供电,并且板载I2C电平转换电路,兼容Arduino 3.3V以及5V的控制器直接驱动。
应用场景
- 行走计步
- 加速度检测
- 倾角测量
- 显示屏切换横屏/竖屏模式
技术规格
- 工作电压:3.2V~6V
- 电流消耗:<1mA
- 接口方式:Gravity-I2C接口
- 加速度可选标尺:±2g/±4g/±8g/±16g
- 陀螺仪可选标尺:±125°/s,±250°/s,±500°/s,±1000°/s,±2000°/s
- 加速度计零点漂移:±40mg
- 陀螺仪零点漂移:±10°/s
- 可编程频率:25/32Hz~1600Hz
- 6D检测定位
- 16位数据输出
- 抗冲击:10,000 gx 200μs
- 2个独立的可编程中断发生器
- 内置1024 byte FIFO
- 工作温度:-40℃~+85℃
- 模块尺寸:22× 27(mm)
- 安装孔位置:15(mm)
- 安装孔尺寸:φ3.0mm
更多详细的技术规格信息请参见附件中的BMI160数据手册
外观及尺寸图

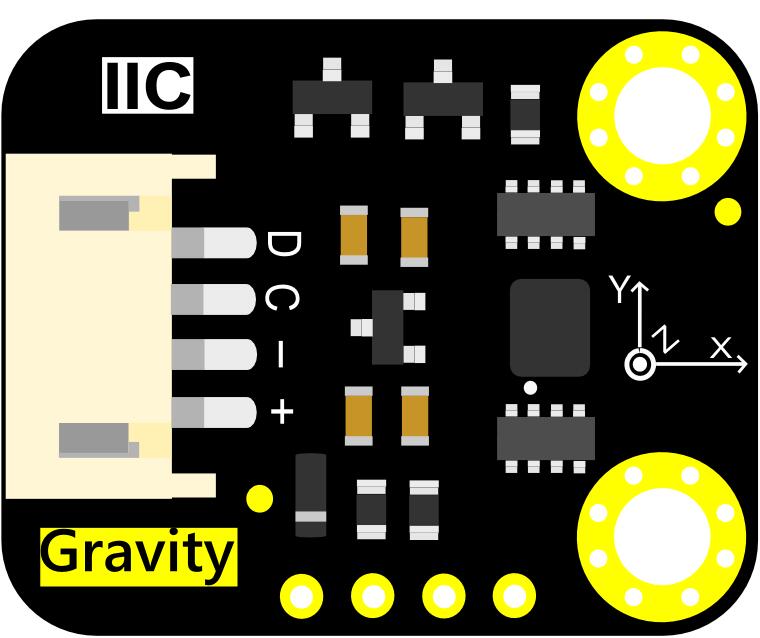
BMI160 六轴IMU传感器 引脚说明
| 标号 | 名称 | 功能描述 |
|---|---|---|
| + | VCC | 3.2~6V |
| - | GND | GND |
| C | SCL | I2C-SCL |
| D | SDA | I2C-SDA |
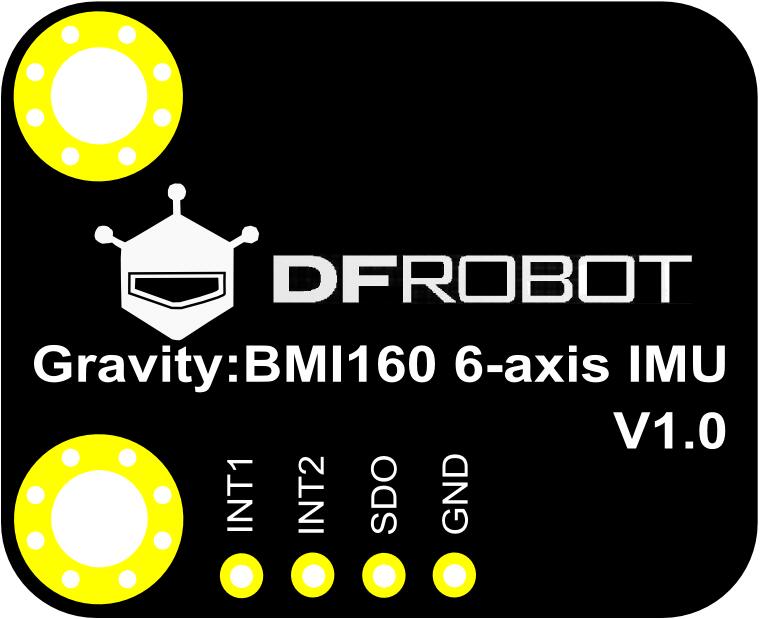
| INT1 | INT1 | 可配置中断输出1 |
| INT2 | INT2 | 可配置中断输出2 |
| SDO | SDO | I2C地址选择 接GND:0x68 接VCC:0x69(默认) |
硬件
硬件准备
- 1 x BMI160 6-axis IMU 六轴惯性传感器
- 1 x Arduino uno
硬件连接
- 将BMI160 6-axis IMU六轴惯性传感器模块与Arduino板以I2C的通信方式相连接BMI160上的“+”可以连接“3V3”或“5V”
- 将BMI160上的INT1或INT2与Arduino板上相应的引脚相连,具体的引脚连接如下表所示
| Arduino板 | 相应引脚连接 |
|---|---|
| Arduino UNO | D2 |
| FireBeetle-ESP32 | D13 |
| FireBeetle-ESP8266 | D13 |
| FireBeetle-Board328P | D2 |
| Leonardo | D3 |
连线图

软件示例
计步测量示例
**特别注意:**I2C的地址有两个,即为0x69,0x68。当程序中设置I2C的地址为0x68时需要将BMI160上的SDO与GND短接
代码模式

- 提示:计步器算法直到走了连续的7步之后才能识别走的步数,之后如果你在某个时刻停止走动的时间太久,计数器将会重置,这同样适用于INT1,INT2
- 注意:在某些时候发现步数与实际步数有出入,是由于BMI芯片本身的问题。
#include <DFRobot_BMI160.h>

DFRobot_BMI160 bmi160;
const int8_t i2c_addr = 0x69;
bool readStep = false;

#if defined ARDUINO_AVR_UNO || defined ARDUINO_AVR_MEGA2560 || defined ARDUINO_AVR_PRO
//interrupt number of uno and mega2560 is 0
int pbIn = 2;
#elif ARDUINO_AVR_LEONARDO
//interrupt number of uno and leonardo is 0
int pbIn = 3;
#else
int pbIn = 13;
#endif
/*the bmi160 have two interrput interfaces*/
int int1 = 1;
int int2 = 2;

void stepChange()
{
  //once the step conter is changed, the value can be read
  readStep = true;
}

void setup() {
  Serial.begin(115200);
  delay(100);

  //set and init the bmi160 i2c address
  while (bmi160.I2cInit(i2c_addr) != BMI160_OK) {
    Serial.println("i2c init fail");
    delay(1000);
  }

  //set interrput number to int1 or int2
  if (bmi160.setInt(int1) != BMI160_OK) {
    Serial.println("set interrput fail");
    while (1);
  }

  //set the bmi160 mode to step counter
  if (bmi160.setStepCounter() != BMI160_OK) {
    Serial.println("set step fail");
    while (1);
  }
#if defined ARDUINO_AVR_UNO || defined ARDUINO_AVR_MEGA2560 || defined ARDUINO_AVR_LEONARDO || defined ARDUINO_AVR_PRO
  //set the pin in the board to connect to int1 or int2 of bmi160
  attachInterrupt(digitalPinToInterrupt(pbIn), stepChange, FALLING);
#else
  attachInterrupt(pbIn, stepChange, FALLING);
#endif
}

void loop() {
  if (readStep) {
    uint16_t stepCounter = 0;
    //read step counter from hardware bmi160
    if (bmi160.readStepCounter(&stepCounter) == BMI160_OK) {
      Serial.print("step counter = "); Serial.println(stepCounter);
    }
    readStep = false;
  }
}
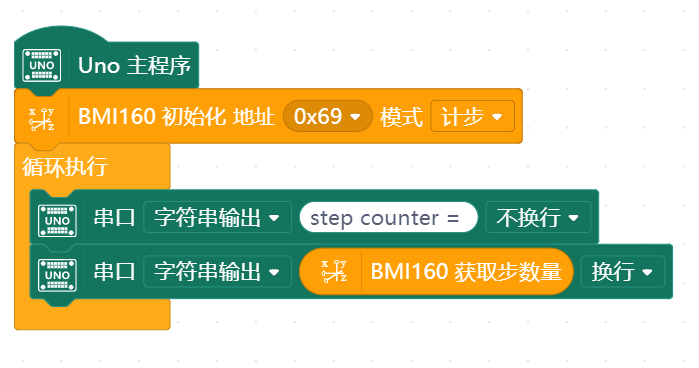
Mind+(基于Scratch3.0)图形化编程
- 下载及安装软件。下载地址:https://www.mindplus.cc 详细教程:Mind+基础wiki教程-软件下载安装
- 切换到“上传模式”。 详细教程:Mind+基础wiki教程-上传模式编程流程
- “扩展”中选择“主控板”中的“Arduino Uno”,选择"传感器"中的"BMI160 6轴惯性运动传感器"。 详细教程:Mind+基础wiki教程-加载扩展库流程
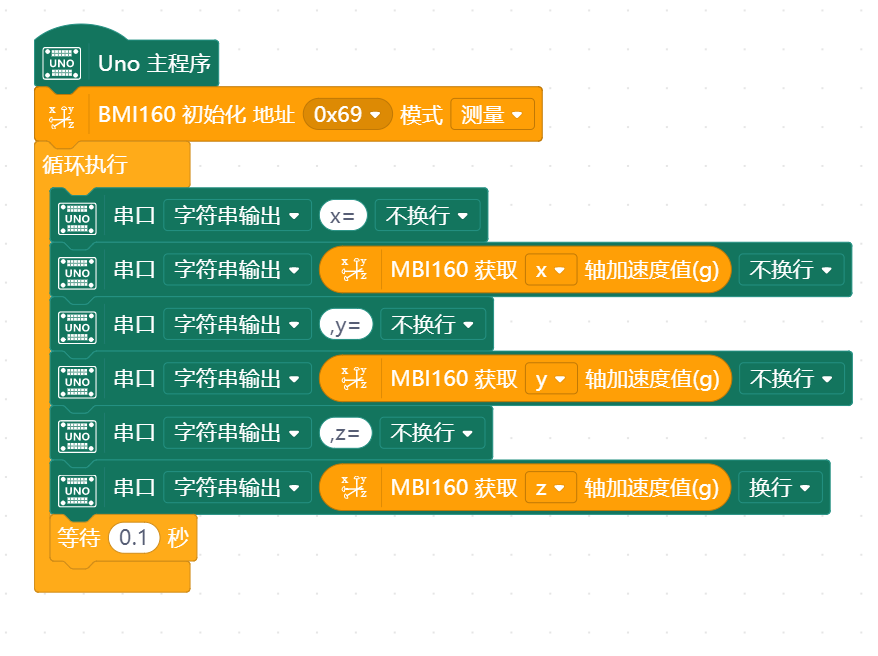
- 进行编程,程序如下图:
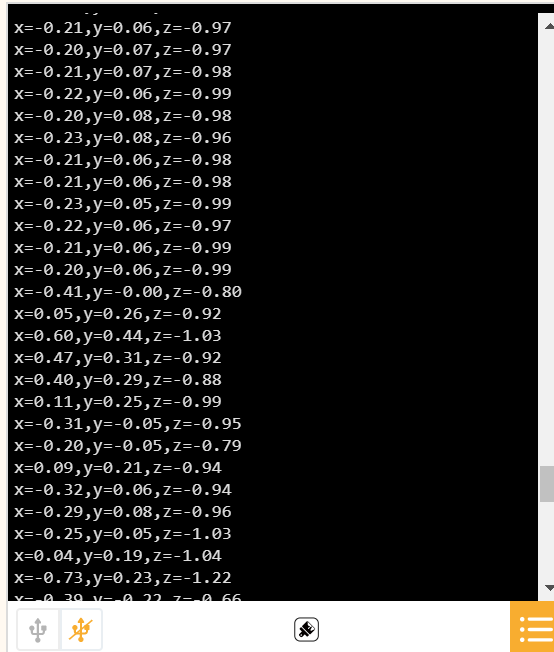
- 上传程序,“打开串口”即可观察数据。

加速度陀螺仪

说明:前三列为X轴、Y轴和Z轴方向上陀螺仪的数据,后三列是X轴、Y轴和Z轴方向上加速度的的数据
代码模式
#include "DFRobot_BMI160.h"

DFRobot_BMI160 bmi160;
const int8_t i2c_addr = 0x69;
void setup() {
  Serial.begin(115200);
  delay(100);

  //init the hardware bmin160
  if (bmi160.softReset() != BMI160_OK) {
    Serial.println("reset false");
    while (1);
  }

  //set and init the bmi160 i2c address
  if (bmi160.I2cInit(i2c_addr) != BMI160_OK) {
    Serial.println("init false");
    while (1);
  }
}

void loop() {
  int i = 0;
  int rslt;
  int16_t accelGyro[6] = {0};

  //get both accel and gyro data from bmi160
  //parameter accelGyro is the pointer to store the data
  rslt = bmi160.getAccelGyroData(accelGyro);
  if (rslt == 0) {
    for (i = 0; i < 6; i++) {
      if (i < 3) {
        //the first three are gyro datas
        Serial.print(accelGyro[i] * 3.14 / 180.0); Serial.print("\t");
      } else {
        //the following three data are accel datas
        Serial.print(accelGyro[i] / 16384.0); Serial.print("\t");
      }
    }
    Serial.println();
  } else {
    Serial.println("err");
  }
}
Mind+(基于Scratch3.0)图形化编程
- 下载及安装软件。下载地址:https://www.mindplus.cc 详细教程:Mind+基础wiki教程-软件下载安装
- 切换到“上传模式”。 详细教程:Mind+基础wiki教程-上传模式编程流程
- “扩展”中选择“主控板”中的“Arduino Uno”,选择"传感器"中的"BMI160 6轴惯性运动传感器"。 详细教程:Mind+基础wiki教程-加载扩展库流程
- 进行编程,程序如下图:
- 上传程序,“打开串口”即可观察数据。
常见问题
还没有客户对此产品有任何问题,欢迎通过qq或者论坛联系我们!
更多问题及有趣的应用,可以 访问论坛 进行查阅或发帖。
