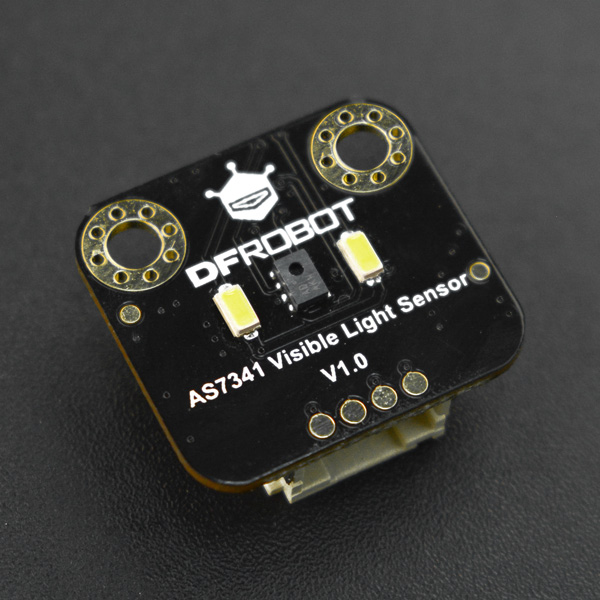
简介
一款PDM MEMS麦克风。PDM数字硅麦,相比传统的驻极体麦克风有更好的声音拾取效果和拾音距离。
PDM是一个高性价比的方式用来数字化运输音频,在单声道和或双声道内,通过一个时钟/数据对。尽管1比特形式有其固有限制,在认真设计的前提下,它也可获取极高的音频性能。
注意:该麦克风不是I2S的,请确保您的芯片具有PDM接口。现在,大多数32位单片机都可以使用PDM麦克风。
应用场景
- 声音采集
技术规格
- 供电电压:3.3V~5V
- 数据格式:PDM
- 信噪比:64 dB(A)
- 总谐波失真:0.1%
- 频率范围:100Hz-10KHz
- 指向性:全向
- 灵敏度:-26 dB
- 声压级:140 dB SPL
- 工作温度范围:-40℃~100℃
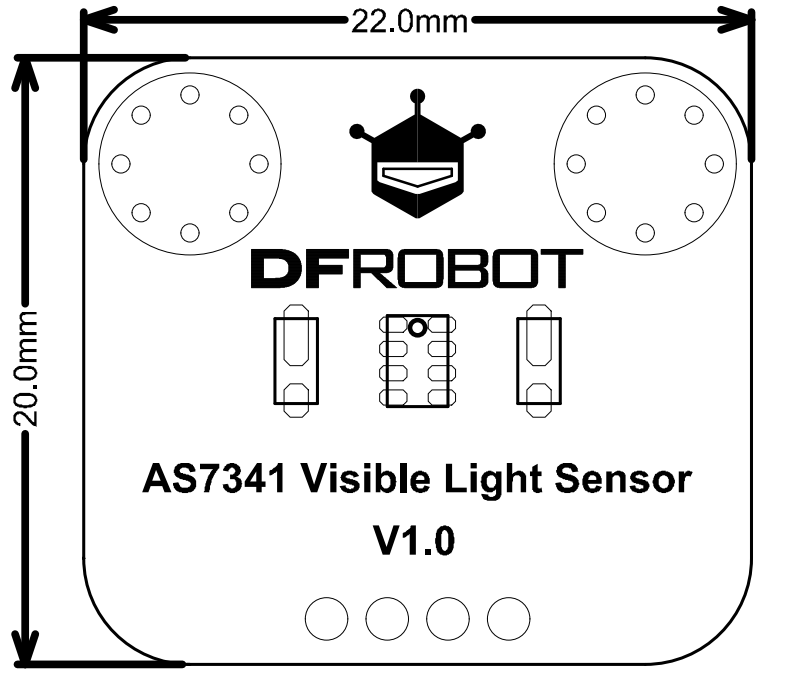
- 产品尺寸:22*20mm
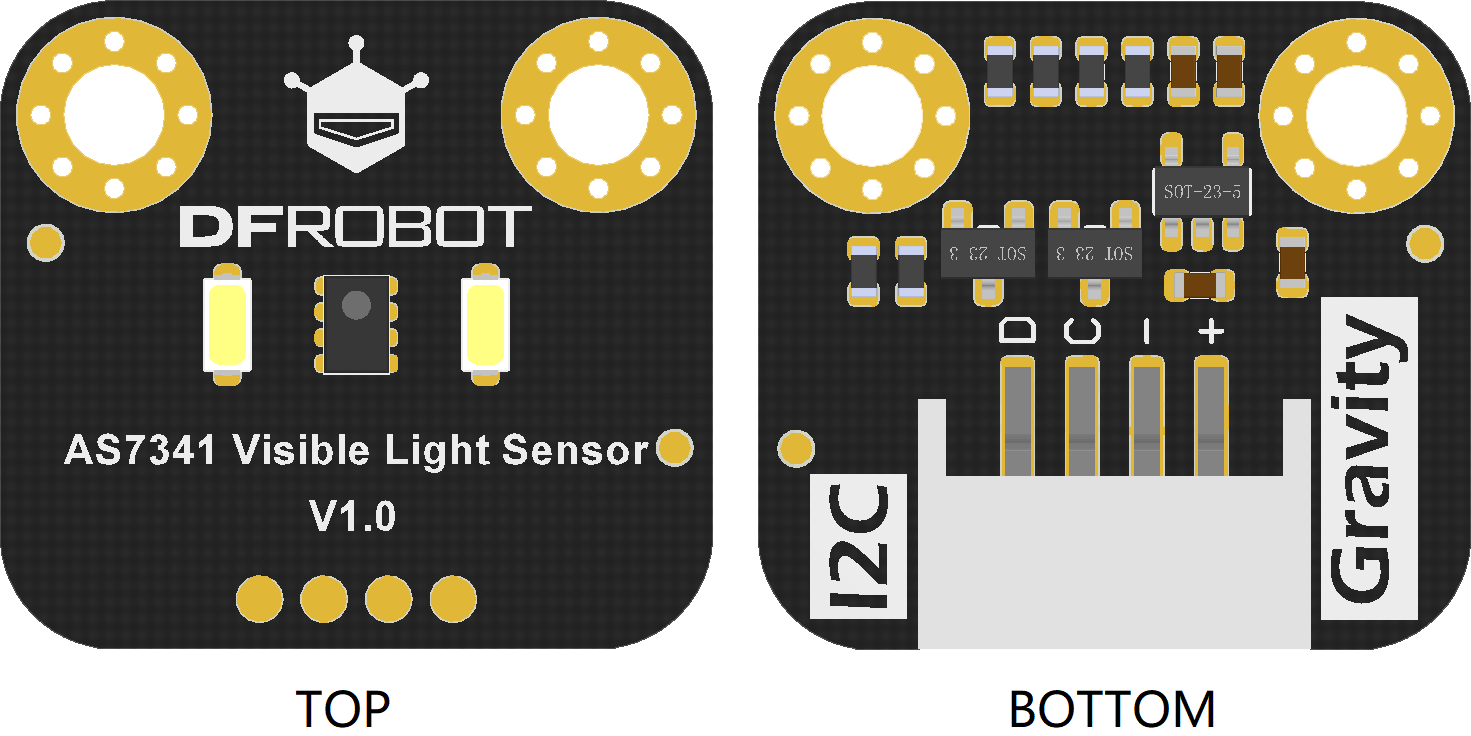
引脚说明
| 序号 | 丝印 | 功能描述 |
|---|---|---|
| 1 | + | 电源正极 |
| 2 | - | 电源负极 |
| 3 | CLK | 串行时钟线 |
| 4 | DAT | 串行数据线 |
| 5 | L/R | 左右声道选择 |
使用教程
准备
- 硬件
- 1 x M0控制板
- 1 x PDM麦克风
- 若干 杜邦线
- 软件
- Arduino IDE, 点击下载Arduino IDE
- PDM麦克风库文件
关于如何安装库文件,点击链接
1.修改Adafruit_ZeroPDM.cpp文件,把所有的ARDUINO_SAMD_ZERO修改为ARDUINO_SAM_ZERO
2.将示例中的Adafruit_ZeroPDM pdm = Adafruit_ZeroPDM(1, 4);改为Adafruit_ZeroPDM pdm = Adafruit_ZeroPDM(1, 2);
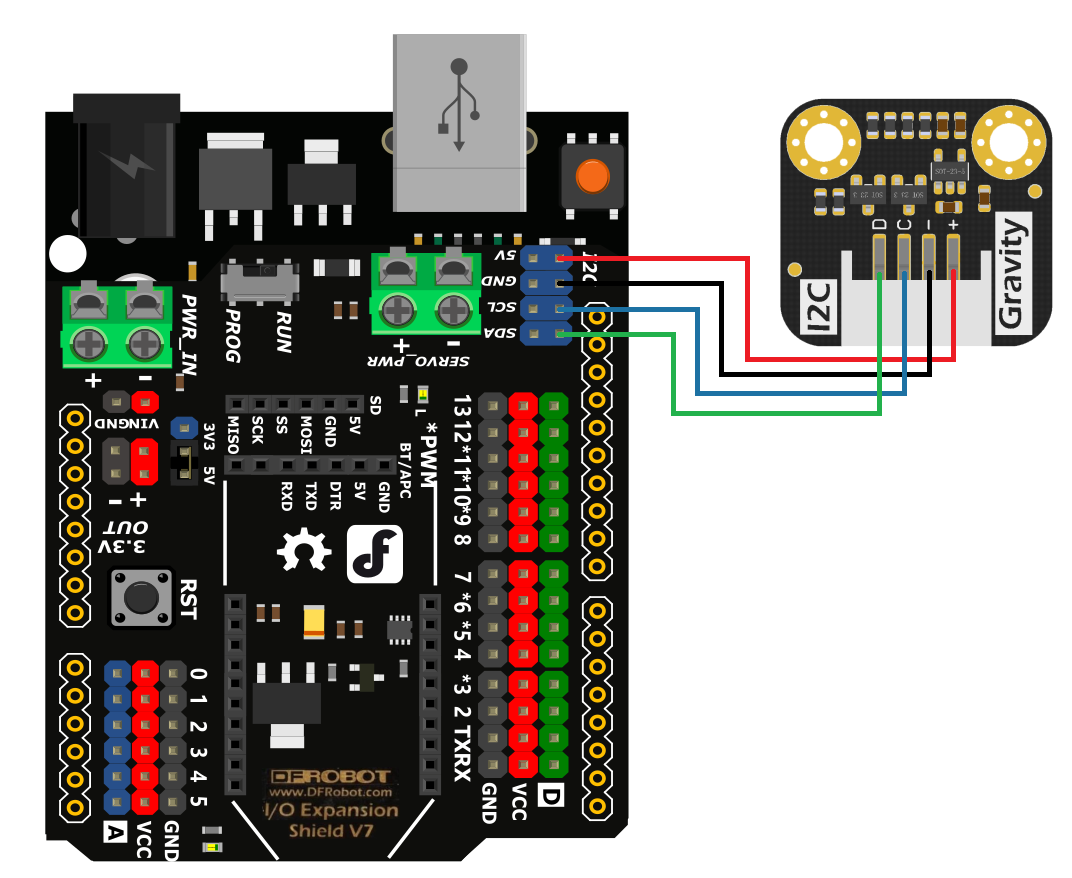
接线图
样例代码1 - 采集声音并输出
采集声音,并通过连接在A0引脚上的喇叭输出声音
#include "Adafruit_ZeroPDM.h"

#define SAMPLERATE_HZ 22000
#define DECIMATION    64

// Create PDM receiver object, with Clock and Data pins used (not all pins available)
Adafruit_ZeroPDM pdm = Adafruit_ZeroPDM(1, 2);  // Metro M0 or Arduino zero
//Adafruit_ZeroPDM pdm = Adafruit_ZeroPDM(34, 35);  // CPlay express

#define SERIALPORT Serial

// a windowed sinc filter for 44 khz, 64 samples
uint16_t sincfilter[DECIMATION] = {0, 2, 9, 21, 39, 63, 94, 132, 179, 236, 302, 379, 467, 565, 674, 792, 920, 1055, 1196, 1341, 1487, 1633, 1776, 1913, 2042, 2159, 2263, 2352, 2422, 2474, 2506, 2516, 2506, 2474, 2422, 2352, 2263, 2159, 2042, 1913, 1776, 1633, 1487, 1341, 1196, 1055, 920, 792, 674, 565, 467, 379, 302, 236, 179, 132, 94, 63, 39, 21, 9, 2, 0, 0};

// a manual loop-unroller!
#define ADAPDM_REPEAT_LOOP_16(X) X X X X X X X X X X X X X X X X


void setup() {
  pinMode(13, OUTPUT);

  // Configure serial port.
  while (!SERIALPORT);
  SERIALPORT.begin(115200);
  SERIALPORT.println("SAMD PDM Demo");

  // Initialize the PDM/I2S receiver
  if (!pdm.begin()) {
    SERIALPORT.println("Failed to initialize I2S/PDM!");
    while (1);
  }
  SERIALPORT.println("PDM initialized");

  // Configure PDM receiver, sample rate
  if (!pdm.configure(SAMPLERATE_HZ * DECIMATION / 16, true)) {
    SERIALPORT.println("Failed to configure PDM");
    while (1);
  }
  SERIALPORT.println("PDM configured");

  // use analog output A0 @ full rez
  analogWriteResolution(10);
  pinMode(A0, OUTPUT);
}


void loop() {
  uint16_t runningsum = 0;
  uint16_t *sinc_ptr = sincfilter;

  for (uint8_t samplenum=0; samplenum < (DECIMATION/16) ; samplenum++) {
     uint16_t sample = pdm.read() & 0xFFFF;    // we read 16 bits at a time, by default the low half

     ADAPDM_REPEAT_LOOP_16(      // manually unroll loop: for (int8_t b=0; b<16; b++)
       {
         // start at the LSB which is the 'first' bit to come down the line, chronologically
         // (Note we had to set I2S_SERCTRL_BITREV to get this to work, but saves us time!)
         if (sample & 0x1) {
           runningsum += *sinc_ptr;     // do the convolution
         }
         sinc_ptr++;
         sample >>= 1;
      }
    )
  }

  // since we wait for the samples from I2S peripheral, we dont need to delay, we will 'naturally'
  // wait the right amount of time between analog writes
  //Serial.println(runningsum);

  // "echo" the analog value we've calculated out to A0
  runningsum /= 64 ; // convert 16 bit -> 10 bit
  analogWrite(A0, runningsum);

  // note that we cannot print the the serial port fast enough to keep up!
}
常见问题
还没有客户对此产品有任何问题,欢迎通过qq或者论坛联系我们!
更多问题及有趣的应用,可以 访问论坛 进行查阅或发帖。
