简介
基于该教程可以将C4002毫米波传感器添加到HomeAssistant中,并实时查看和设置传感器数据
教程
准备
- 硬件
- C4002 毫米波运动与静态存在检测模块
- ESP32-S2-DevKitC-1(其他带5V电源的ESP32开发板也可以使用)
- HomeAssistant主机
- 软件
- 在HomeAssistantOS中安装好ESPHome插件
接线图
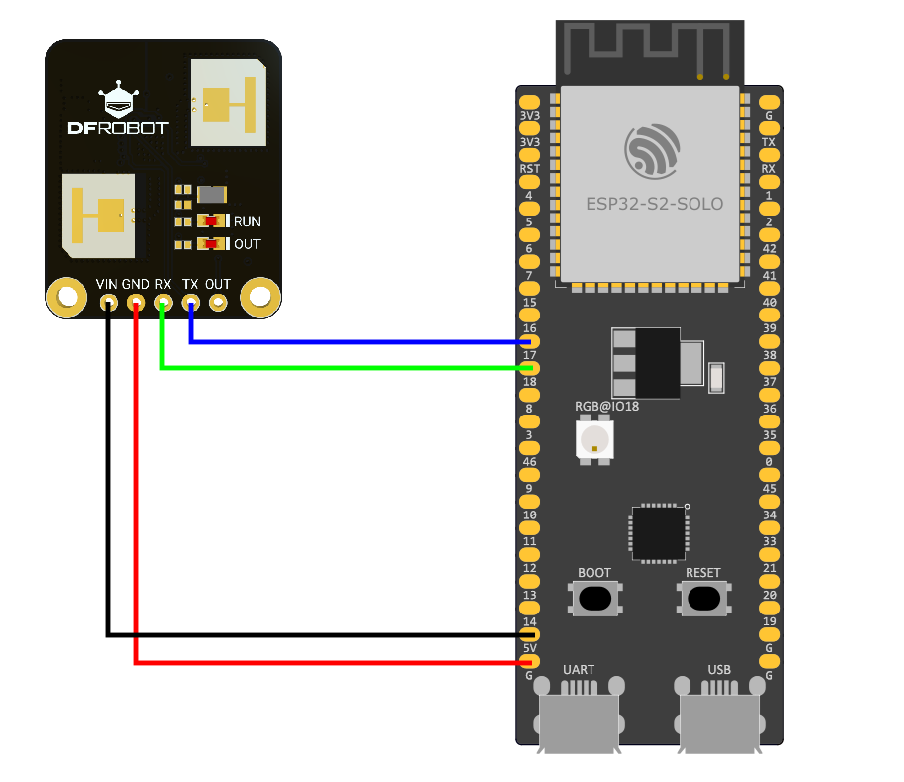
| C4002 | ESP32-S2-DevKitC-1 |
|---|---|
| VIN | 5V |
| GND | G |
| RX | IO17 |
| TX | IO16 |
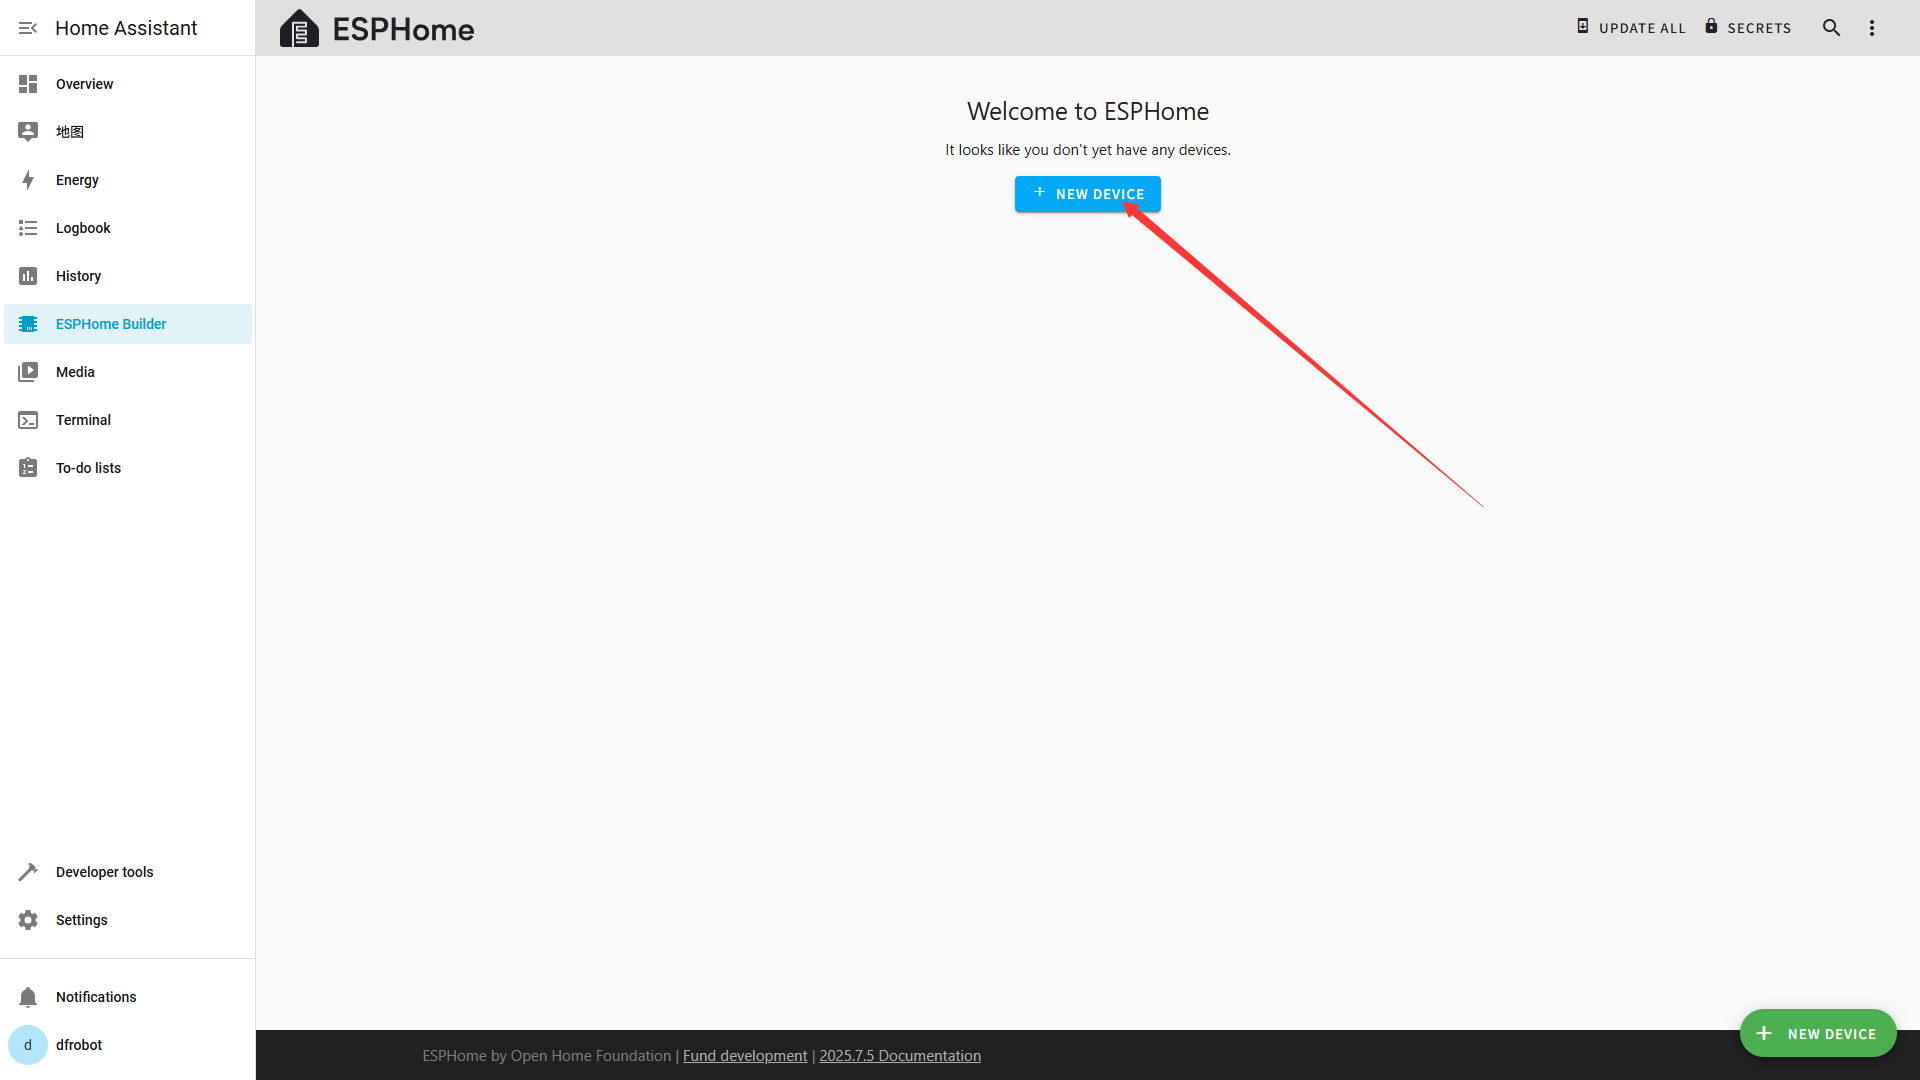
在ESPHome中添加新设备
-
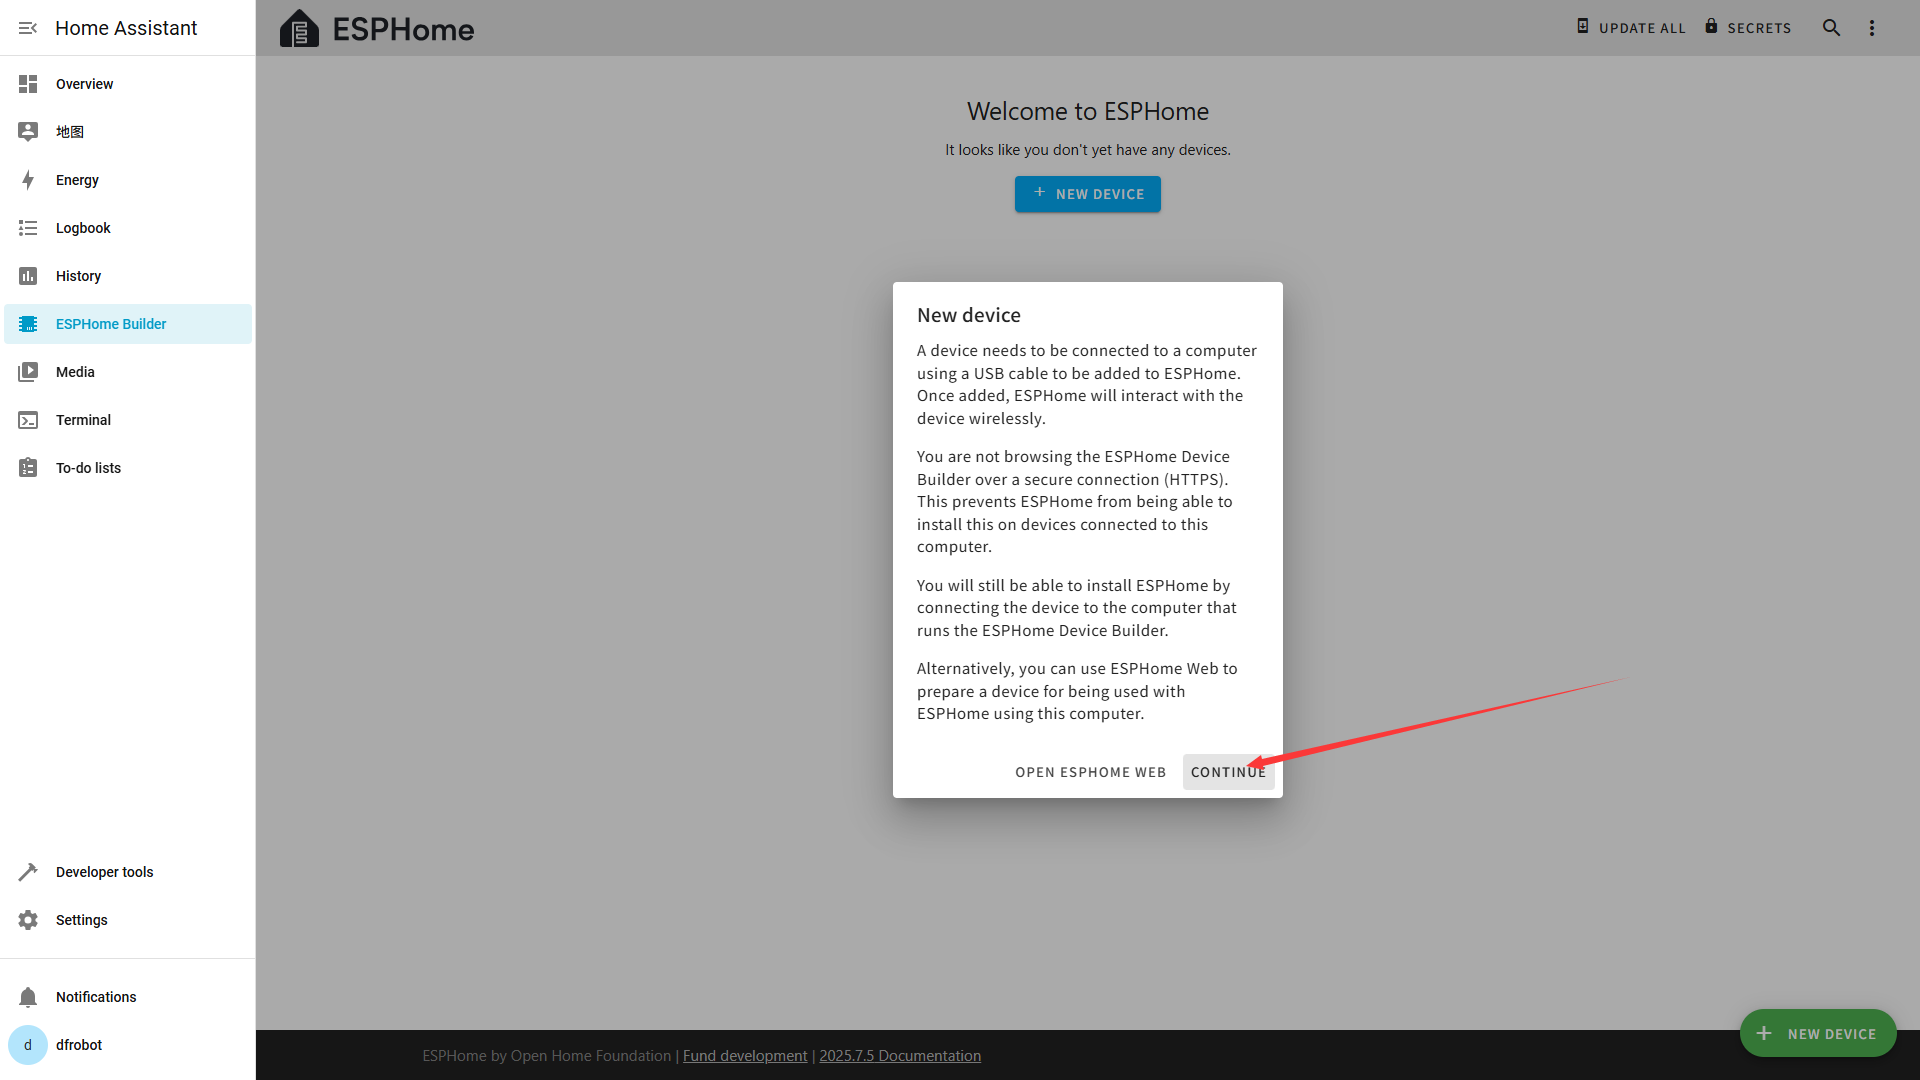
在ESPHome主页点击**"NEW DEVICE"**按键
-
点击**"CONTINUE"**
-
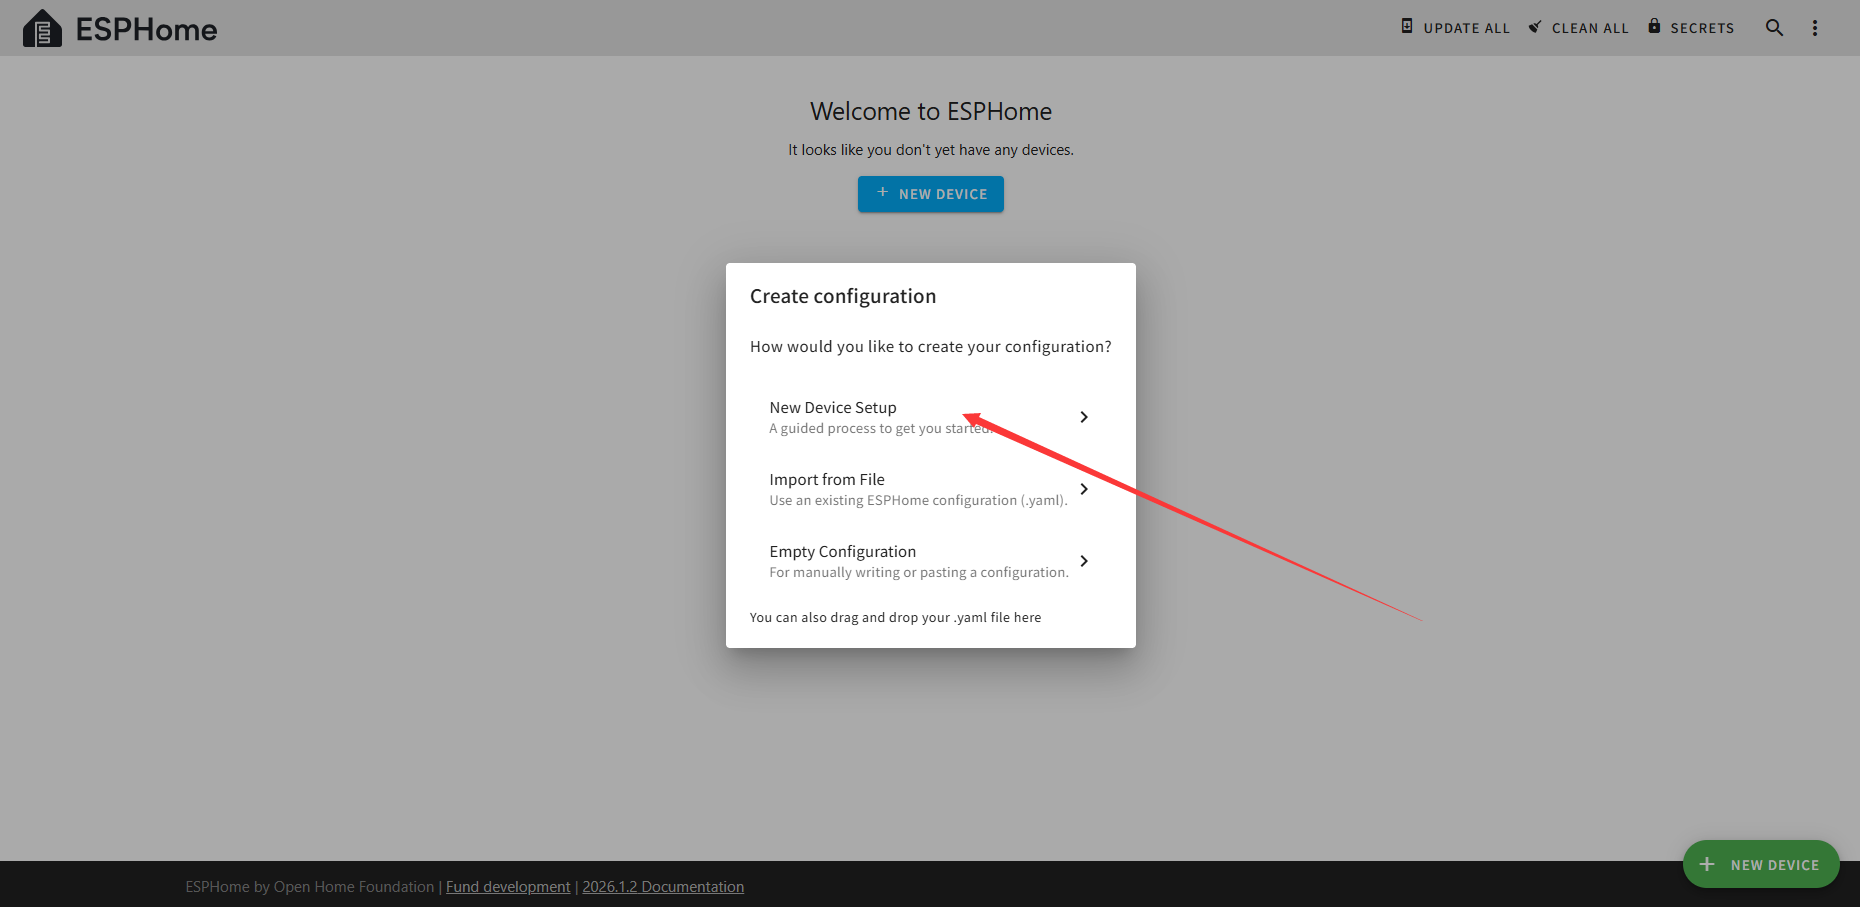
选择**"New Device Setup"**
-
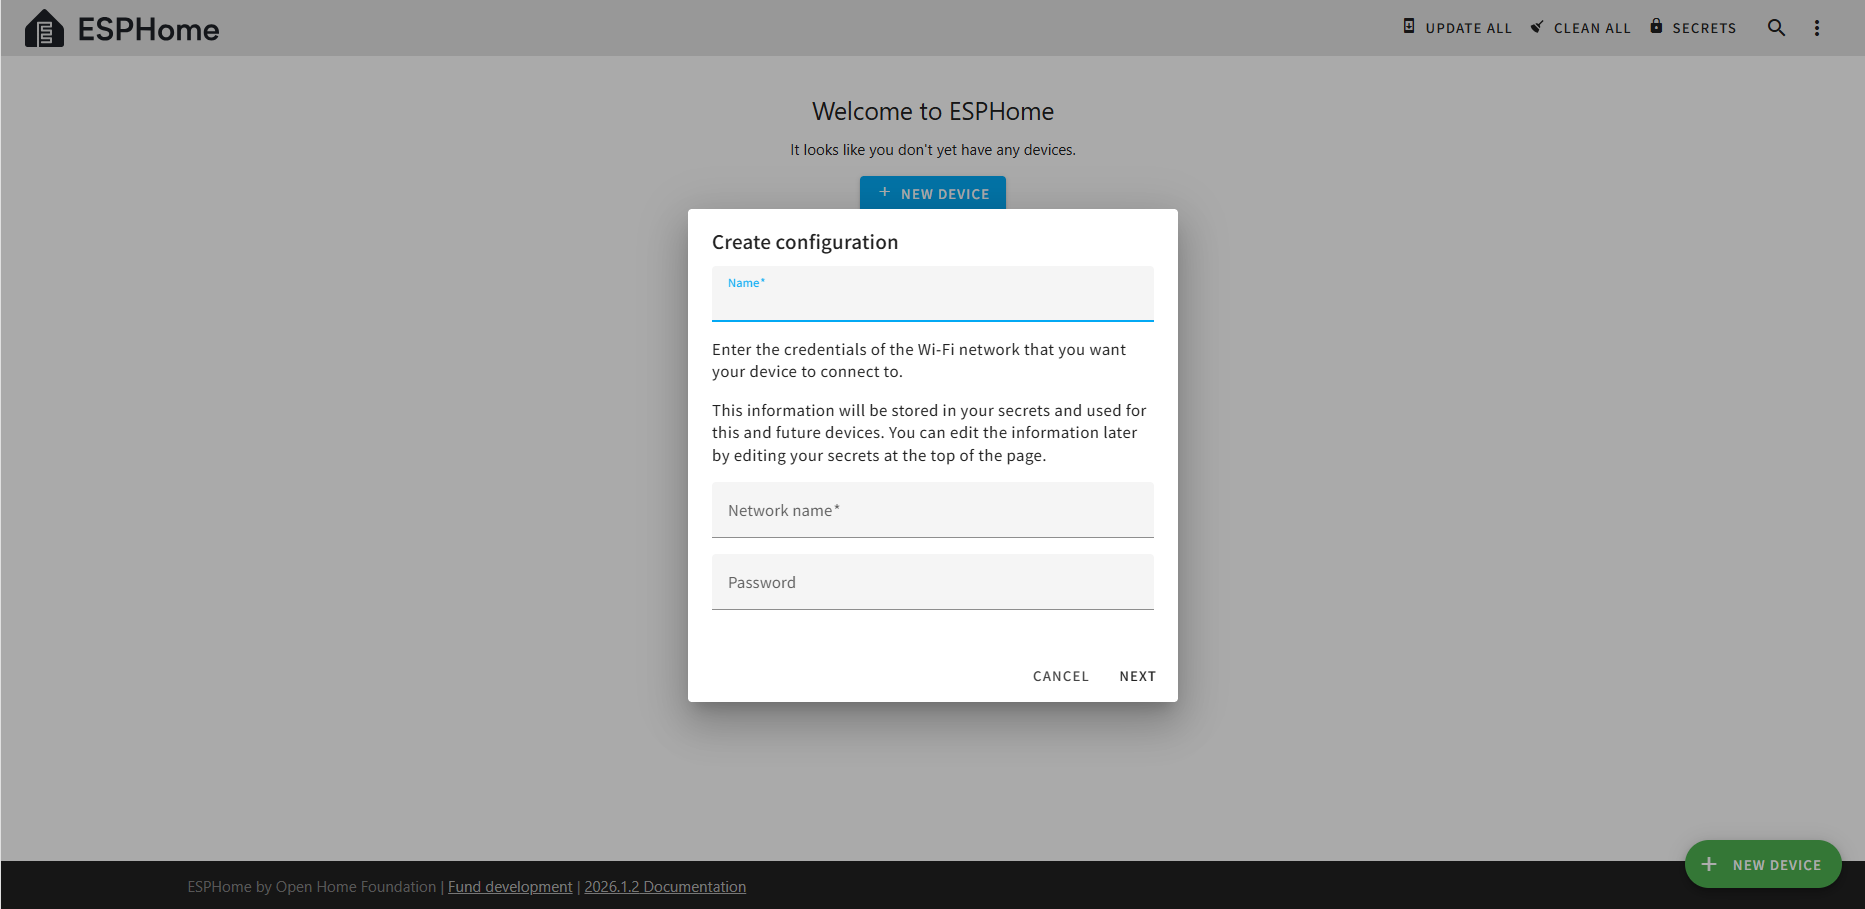
如果是第一次使用ESPHome需要输入**"Name"、"Network name"和"Network Password",如果不是第一次使用是需要输入"Name"**。
-
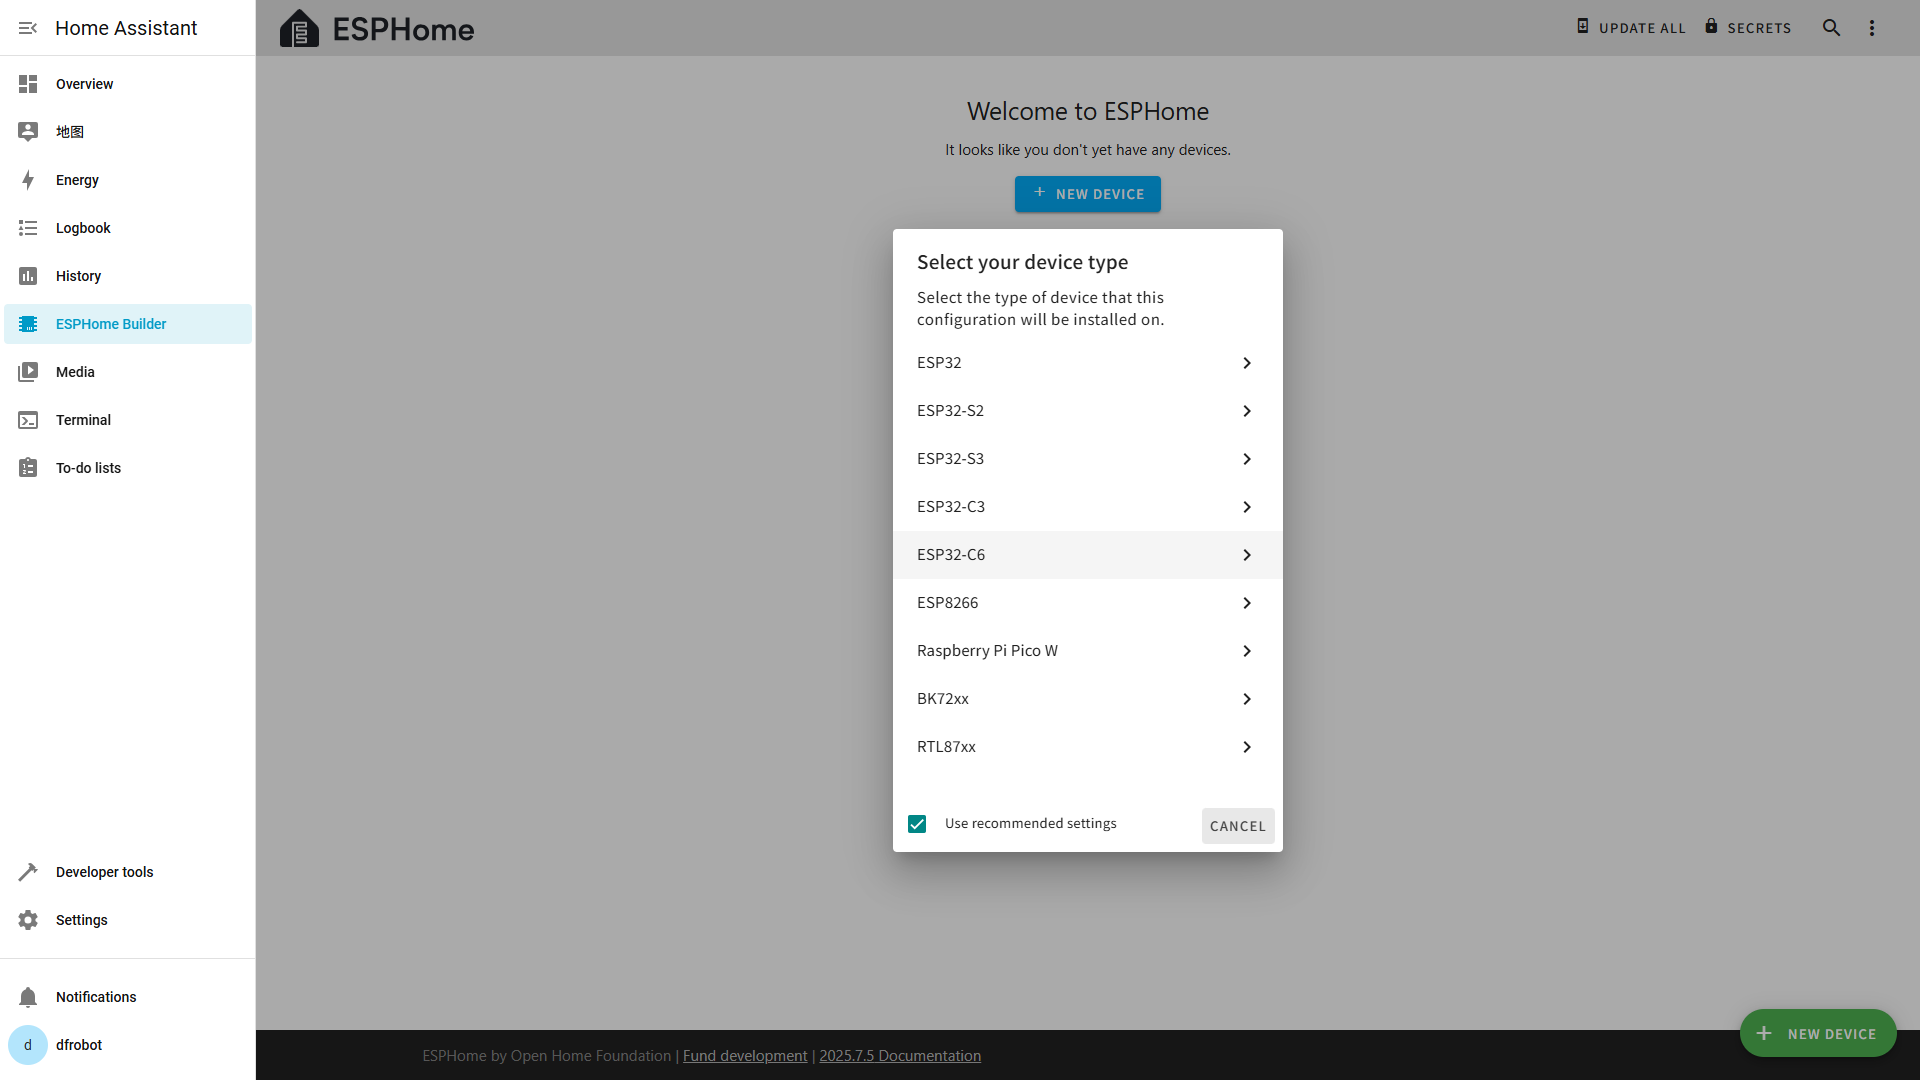
选择你对所使用的开发板型号
-
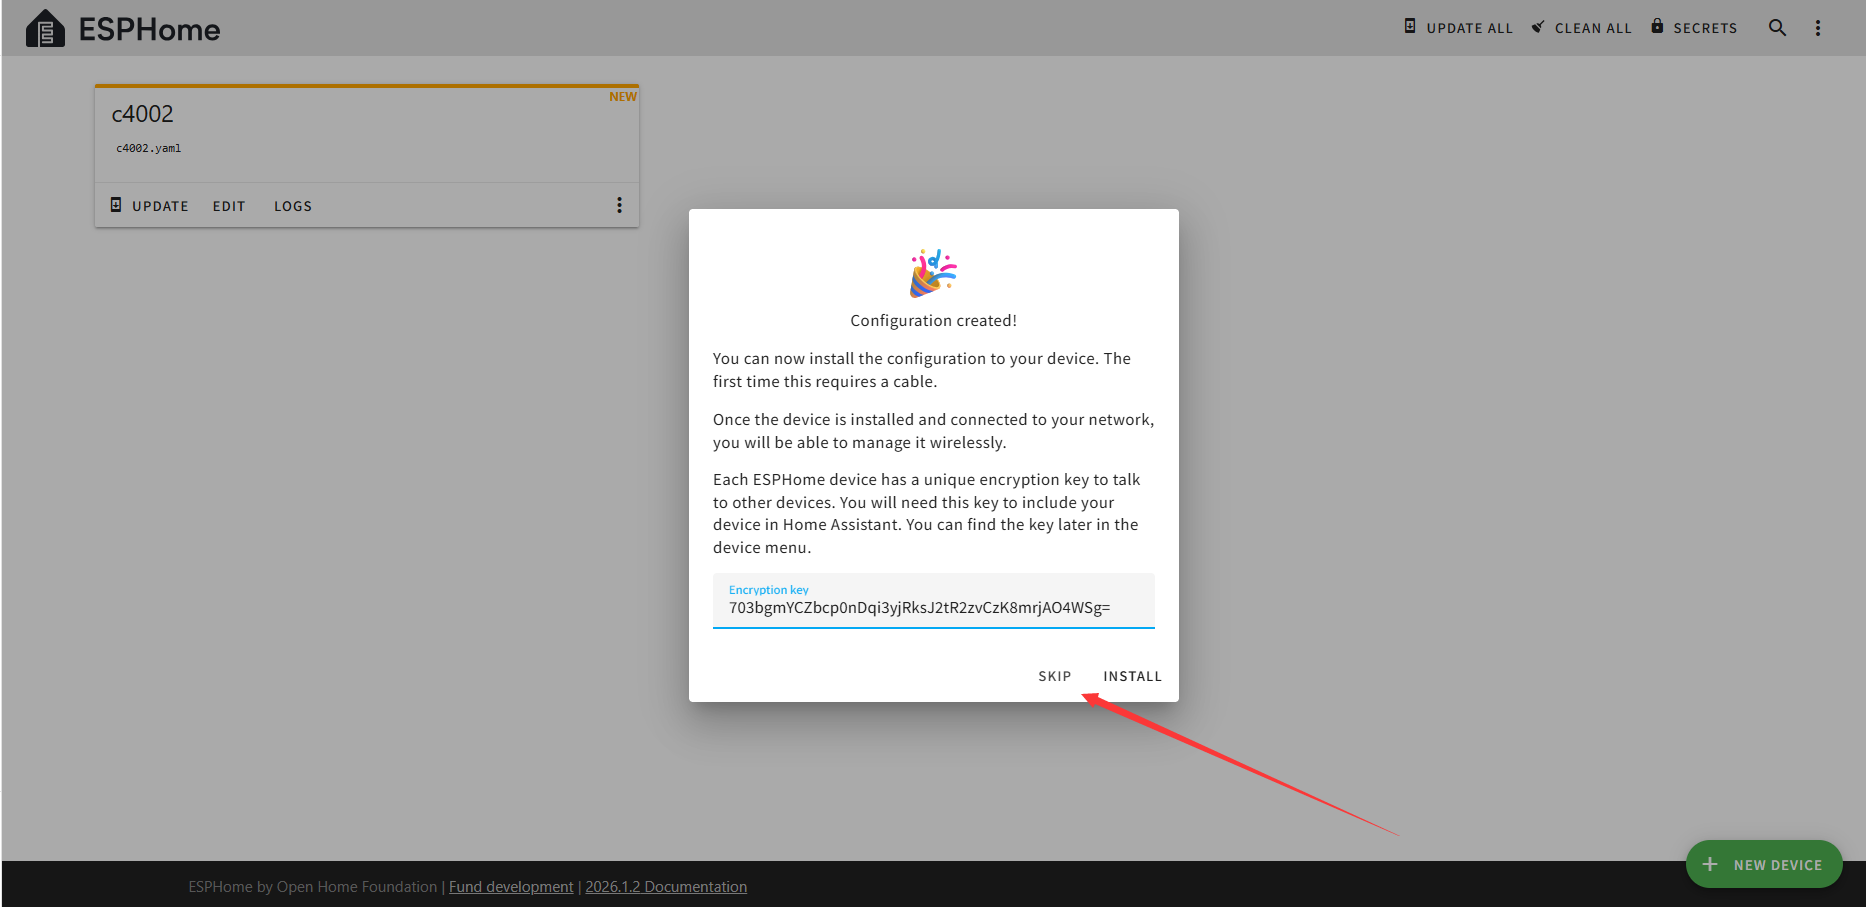
保存设备的Encryption key,点击SKIP
-
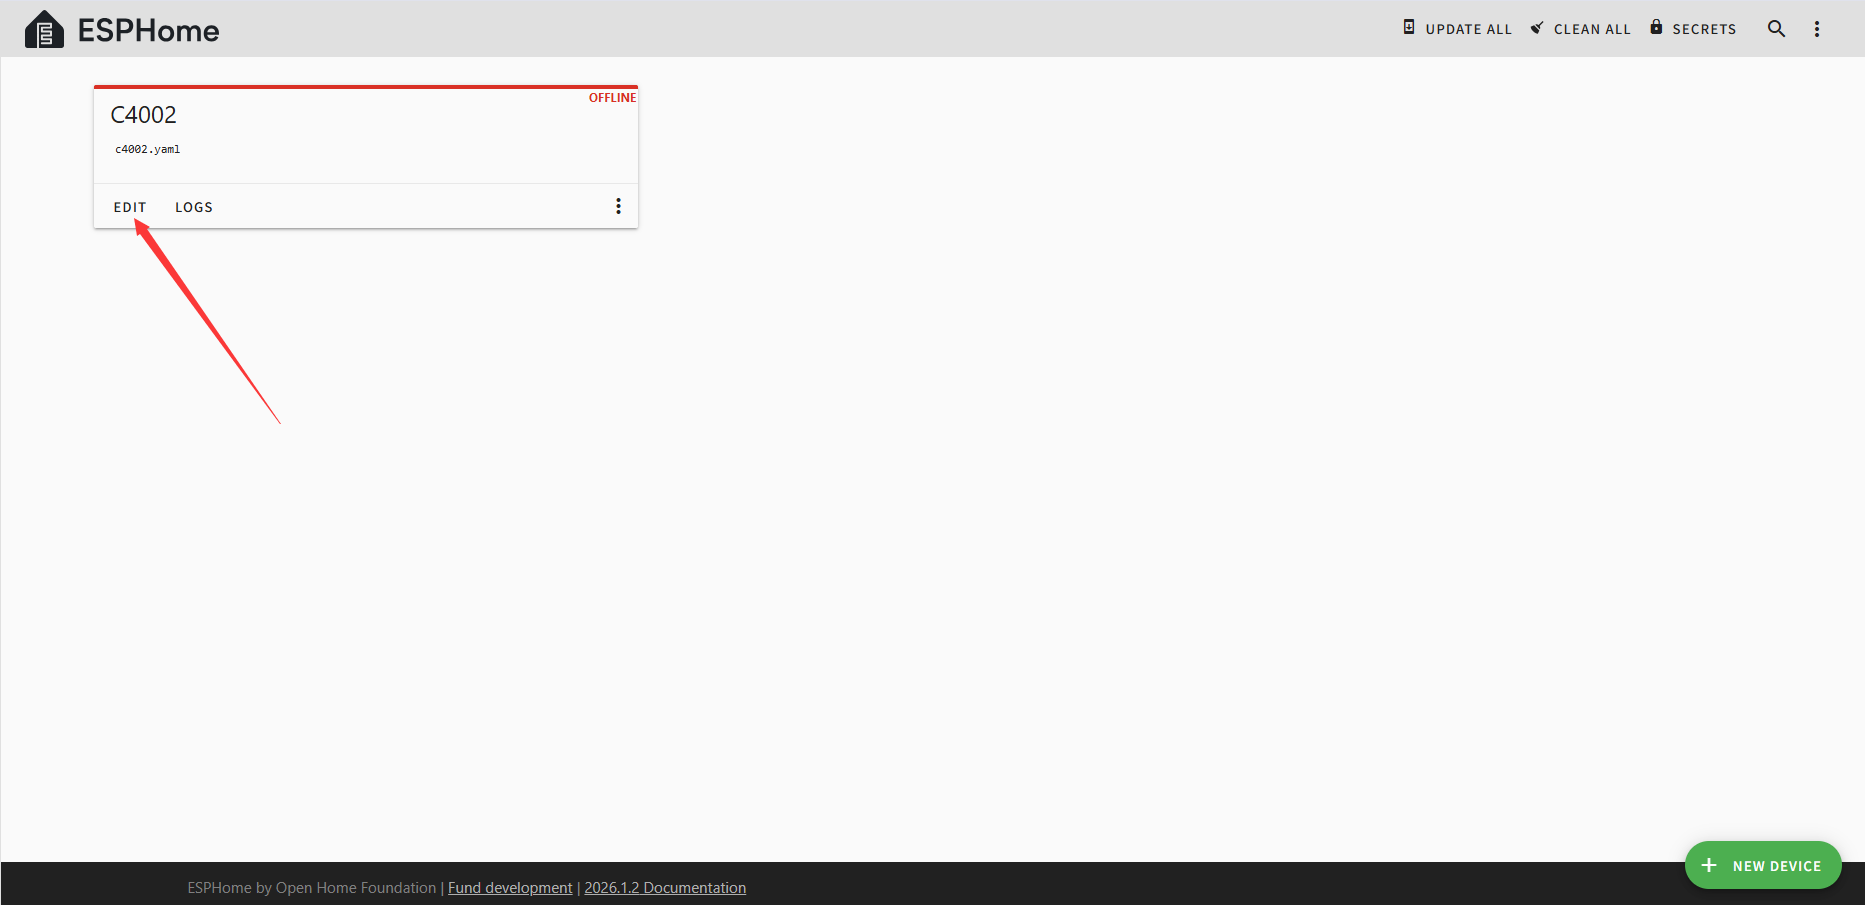
点击ESPHome主页对应设备卡片的**"EDIT"**可以查看自动生成的默认程序
修改程序
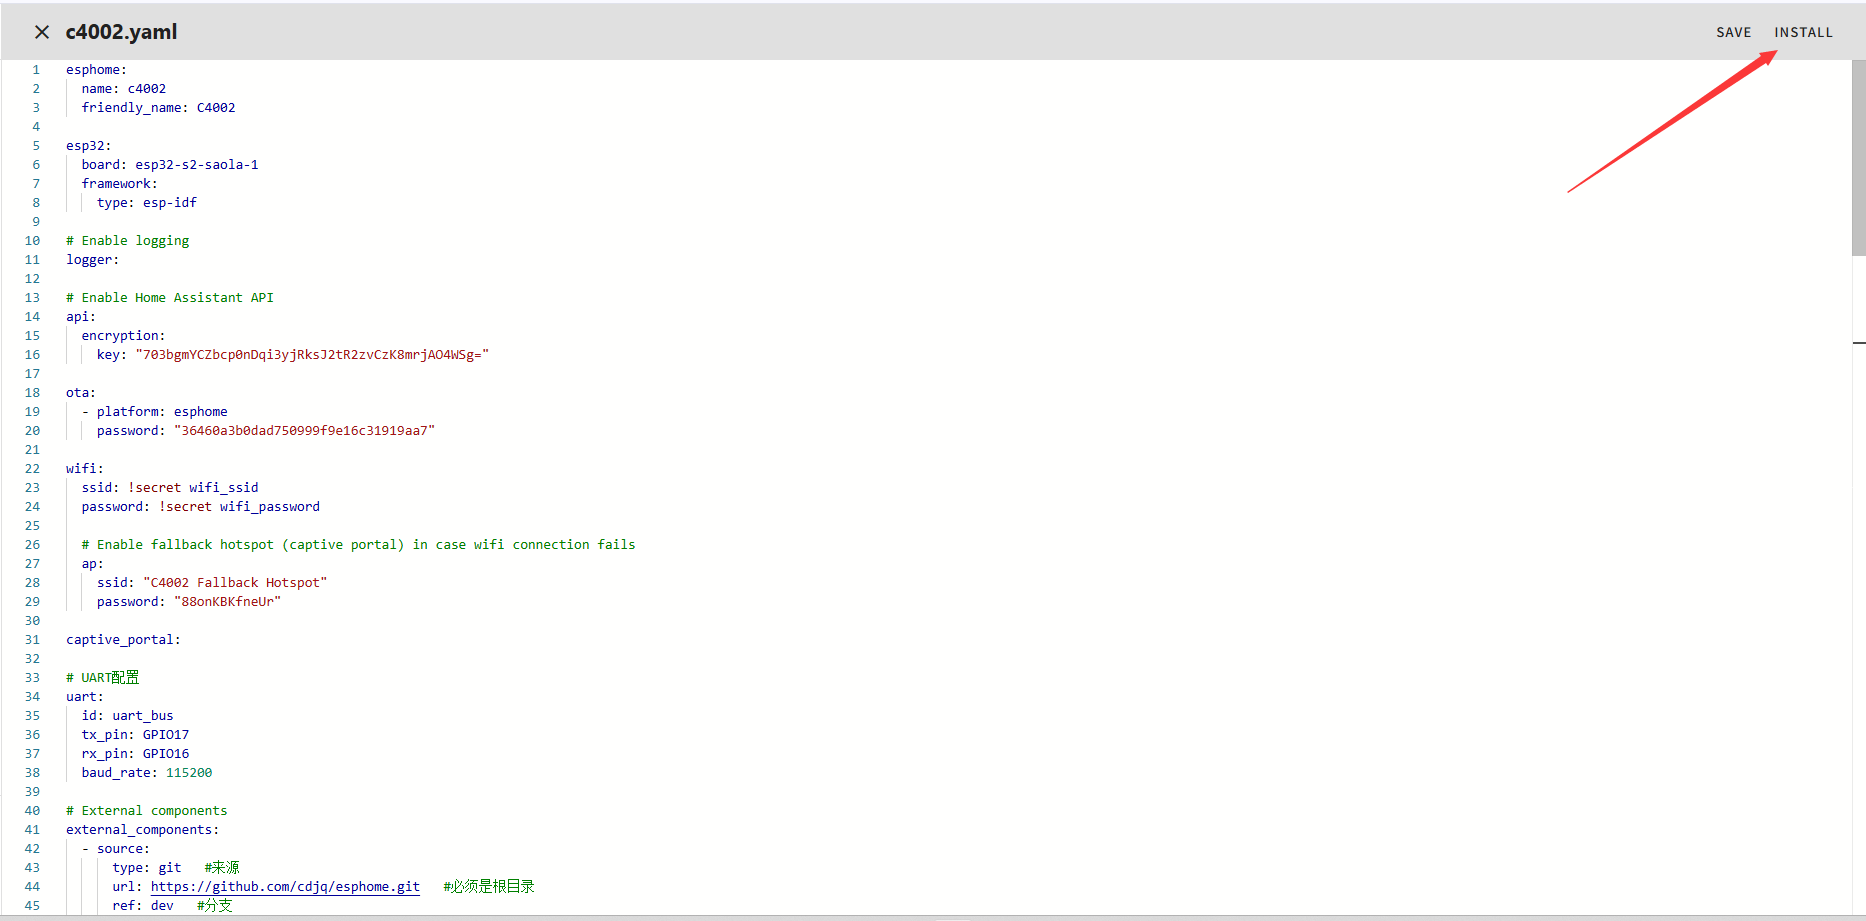
将下面的程序复制到自动生成的默认程序的结尾,需要注意缩进和换行。
# UART配置
uart:
id: uart_bus
tx_pin: GPIO17
rx_pin: GPIO16
baud_rate: 115200
# External components
external_components:
- source:
type: git #来源
url: https://github.com/cdjq/esphome.git #必须是根目录
ref: dev #分支
components:
dfrobot_c4002 #组件
# C4002 组件配置
dfrobot_c4002:
id: my_c4002
# 传感器配置部分
sensor:
- platform: dfrobot_c4002
c4002_id: my_c4002
movement_distance:
name: "Motion Distance"
id: movement_distance_sensor # 运动距离
existing_distance:
name: "Presence Distance"
id: existing_distance_sensor # 存在距离
movement_speed:
name: "Motion Speed"
id: movement_speed_sensor
movement_direction:
name: "Motion Direction"
id: movement_direction_sensor # 运动方向
internal: true
target_status:
name: "Target Status"
id: target_status_sensor
internal: true
text_sensor:
- platform: template
name: "Movement Direction"
id: movement_direction_text
icon: "mdi:directions"
lambda: |-
int d = id(movement_direction_sensor).state;
if (d == 0) return {"Approaching"};
else if (d == 1) return {"No Direction"};
else if (d == 2) return {"Away"};
else return {"未知"};
update_interval: 1s
- platform: template
name: "Target Status"
id: target_status_text
icon: "mdi:human-greeting"
lambda: |-
int d = id(target_status_sensor).state;
if (d == 0) return {"No Target"};
else if (d == 1) return {"Static Presence"};
else if (d == 2) return {"Motion"};
else return {"未知"};
update_interval: 0.5s
- platform: dfrobot_c4002
c4002_id: my_c4002
c4002_text_sensor:
name: "C4002 log"
icon: "mdi:message-text-outline"
# 开关配置部分
switch:
- platform: dfrobot_c4002
switch_out_led:
name: "Out LED Switch"
switch_run_led:
name: "Run LED Switch"
switch_factory_reset:
name: "Factory Reset"
switch_environmental_calibration:
name: "Sensor Calibration"
# Select 配置部分
select:
- platform: dfrobot_c4002
c4002_id: my_c4002
operating_mode:
name: "OUT Mode"
options:
- "Mode_1"
- "Mode_2"
- "Mode_3"
# 最小和最大检测范围配置
number:
- platform: dfrobot_c4002
max_range:
name: "Max detection distance"
min_range:
name: "Min detection distance"
light_threshold:
name: "Light Threshold"
target_disappeard_delay_time:
name: "Target Disappear Delay Time"
程序解释请参考链接
第一次下载
-
修改好程序后点击**"INSTALL"**
-
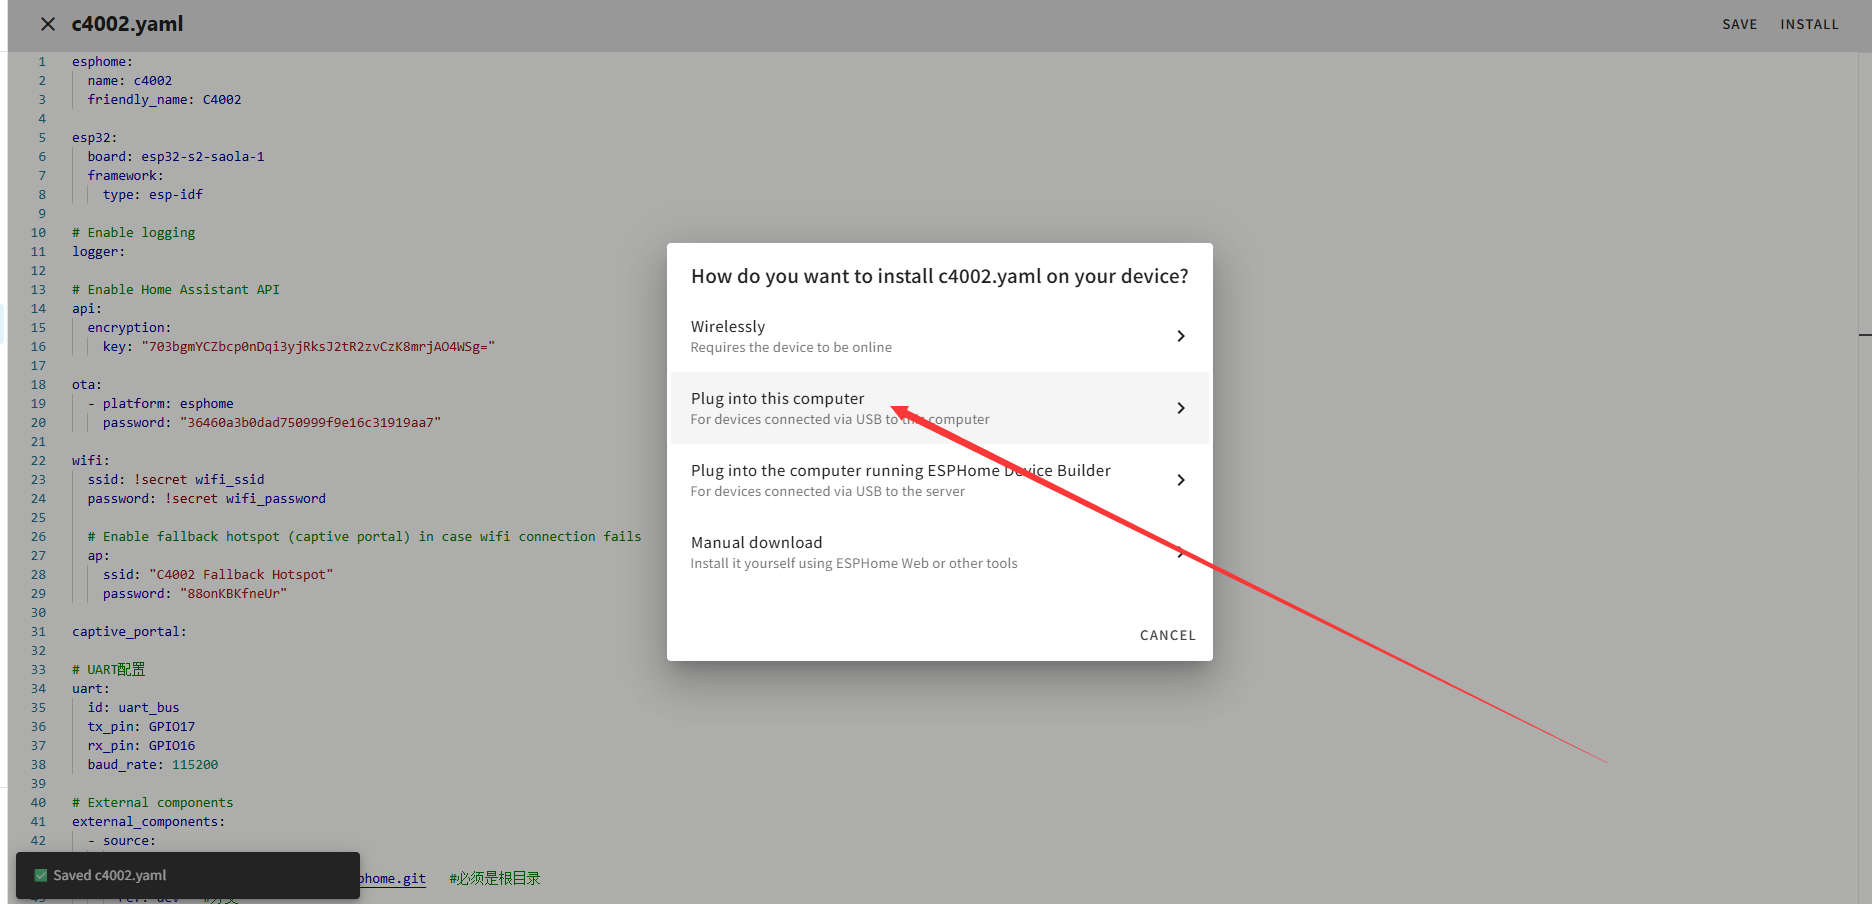
第一次下载需要选择**"Plug into this computer",第一次收录后可以点击"Wirelessly"**通过OTA升级。
-
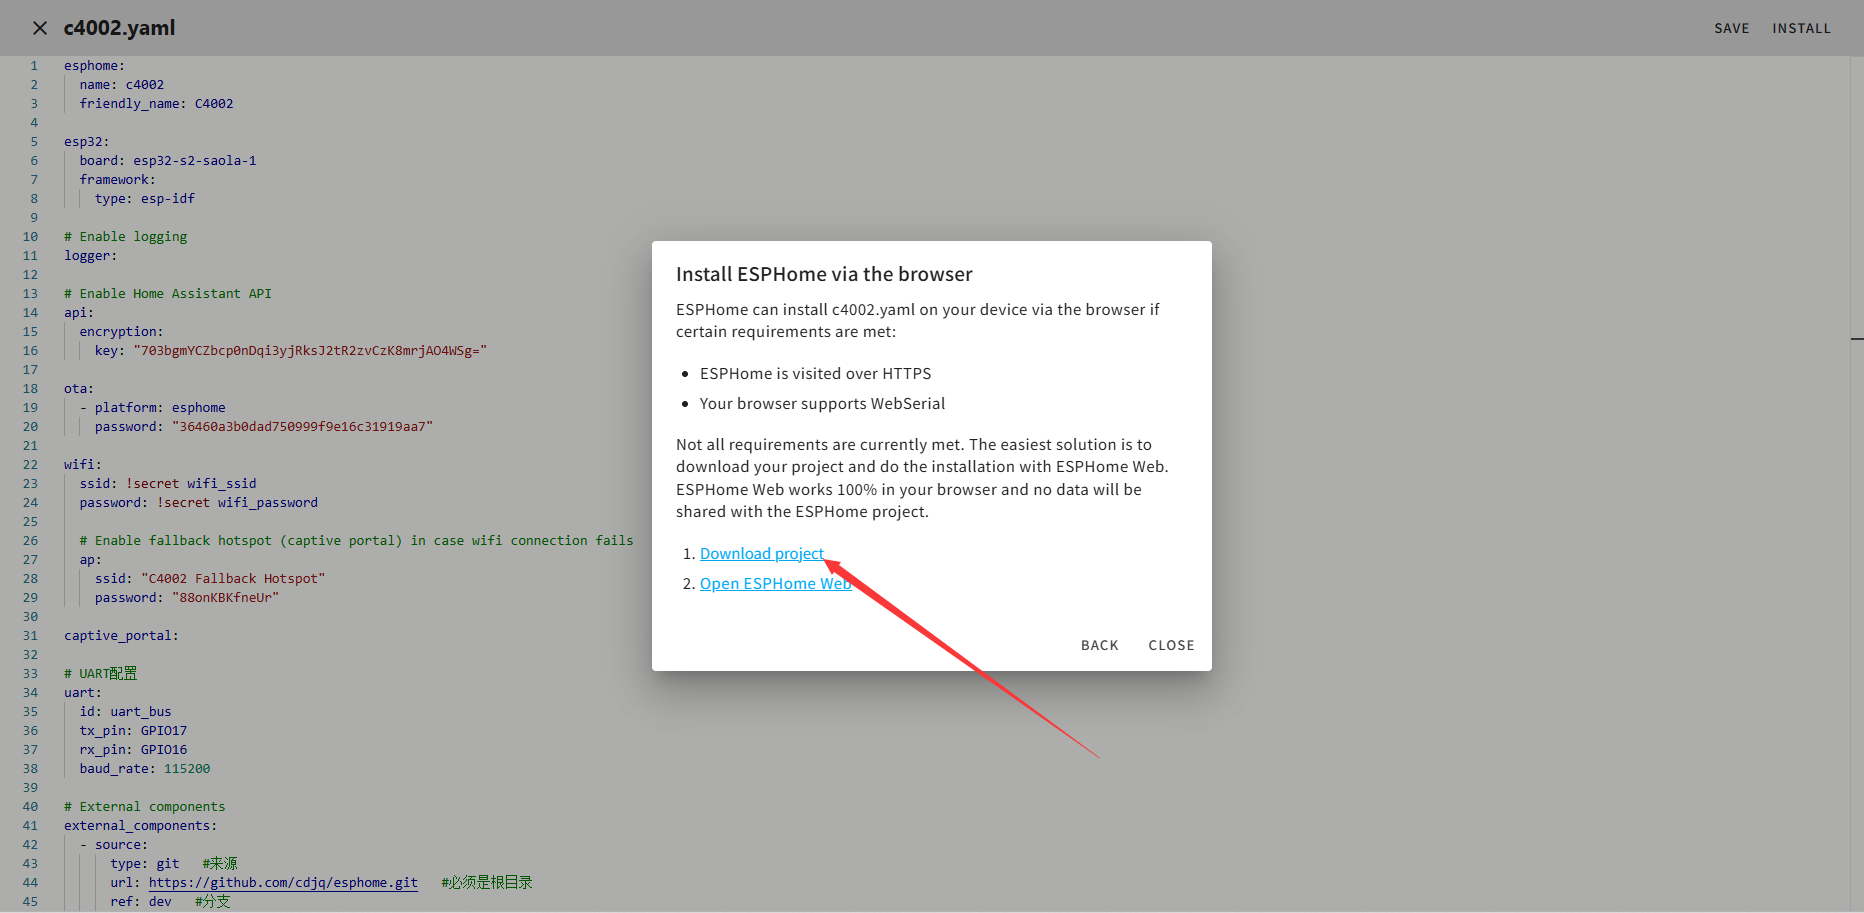
等待系统编译完成后点击**"Download project"**
-
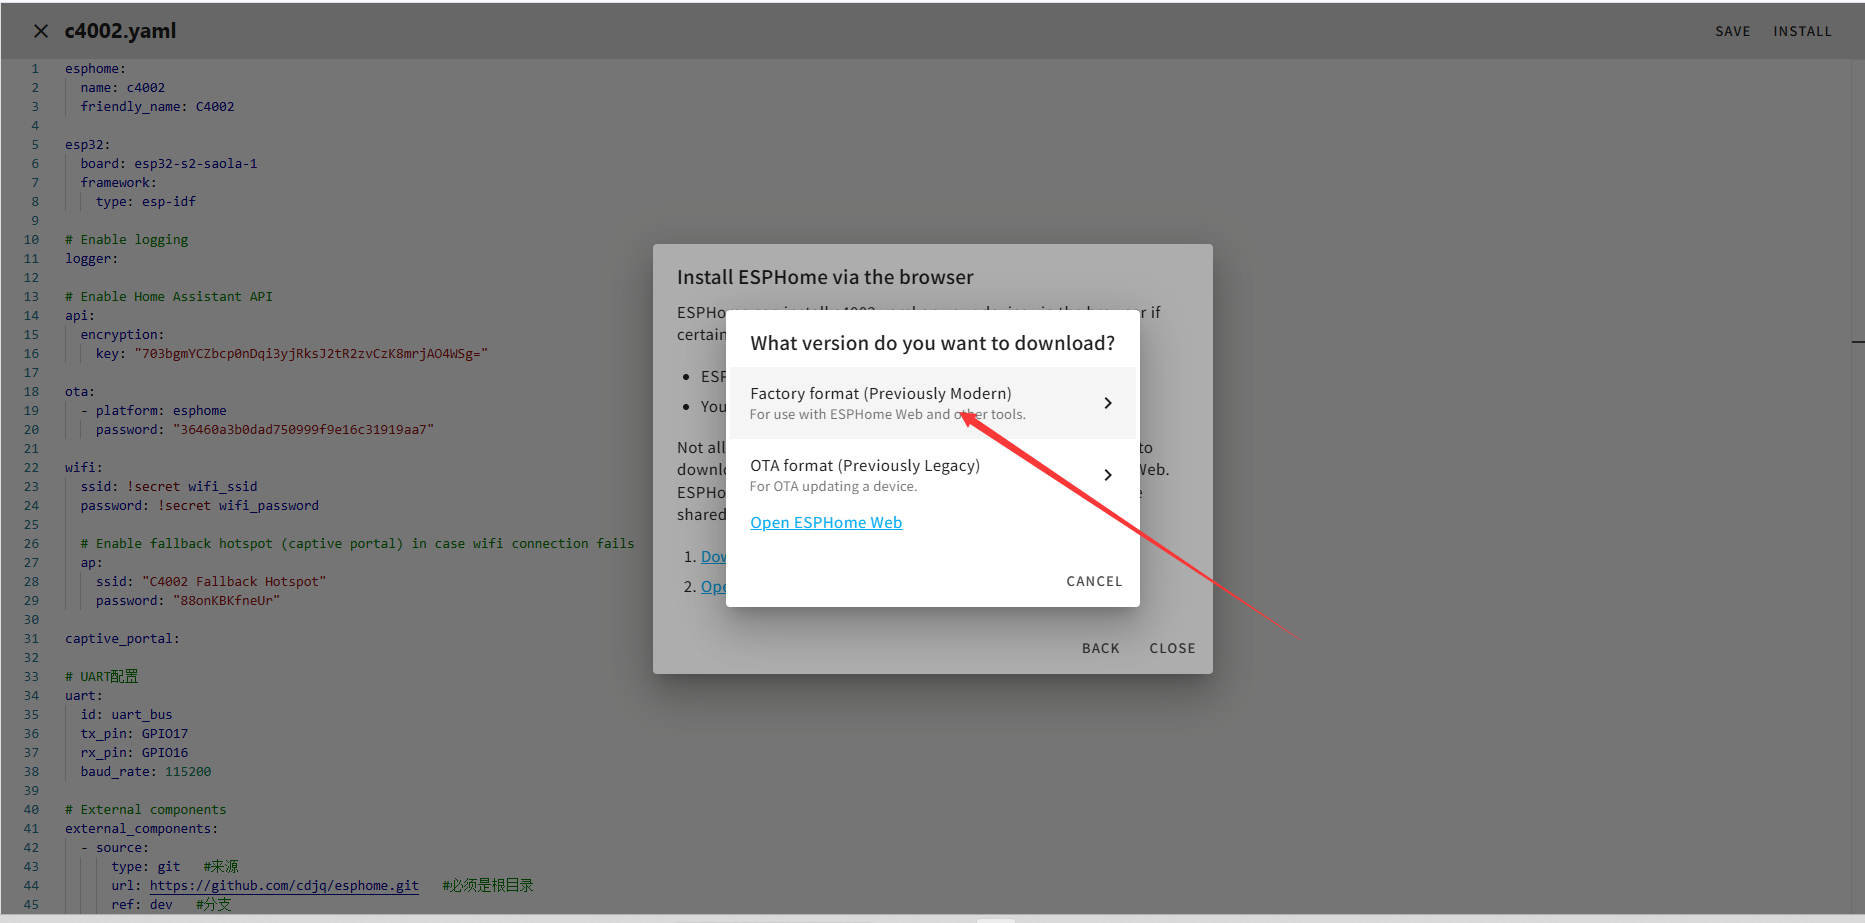
点击**"Factory format (Previously Modern)"**将固件下载到本地。
-
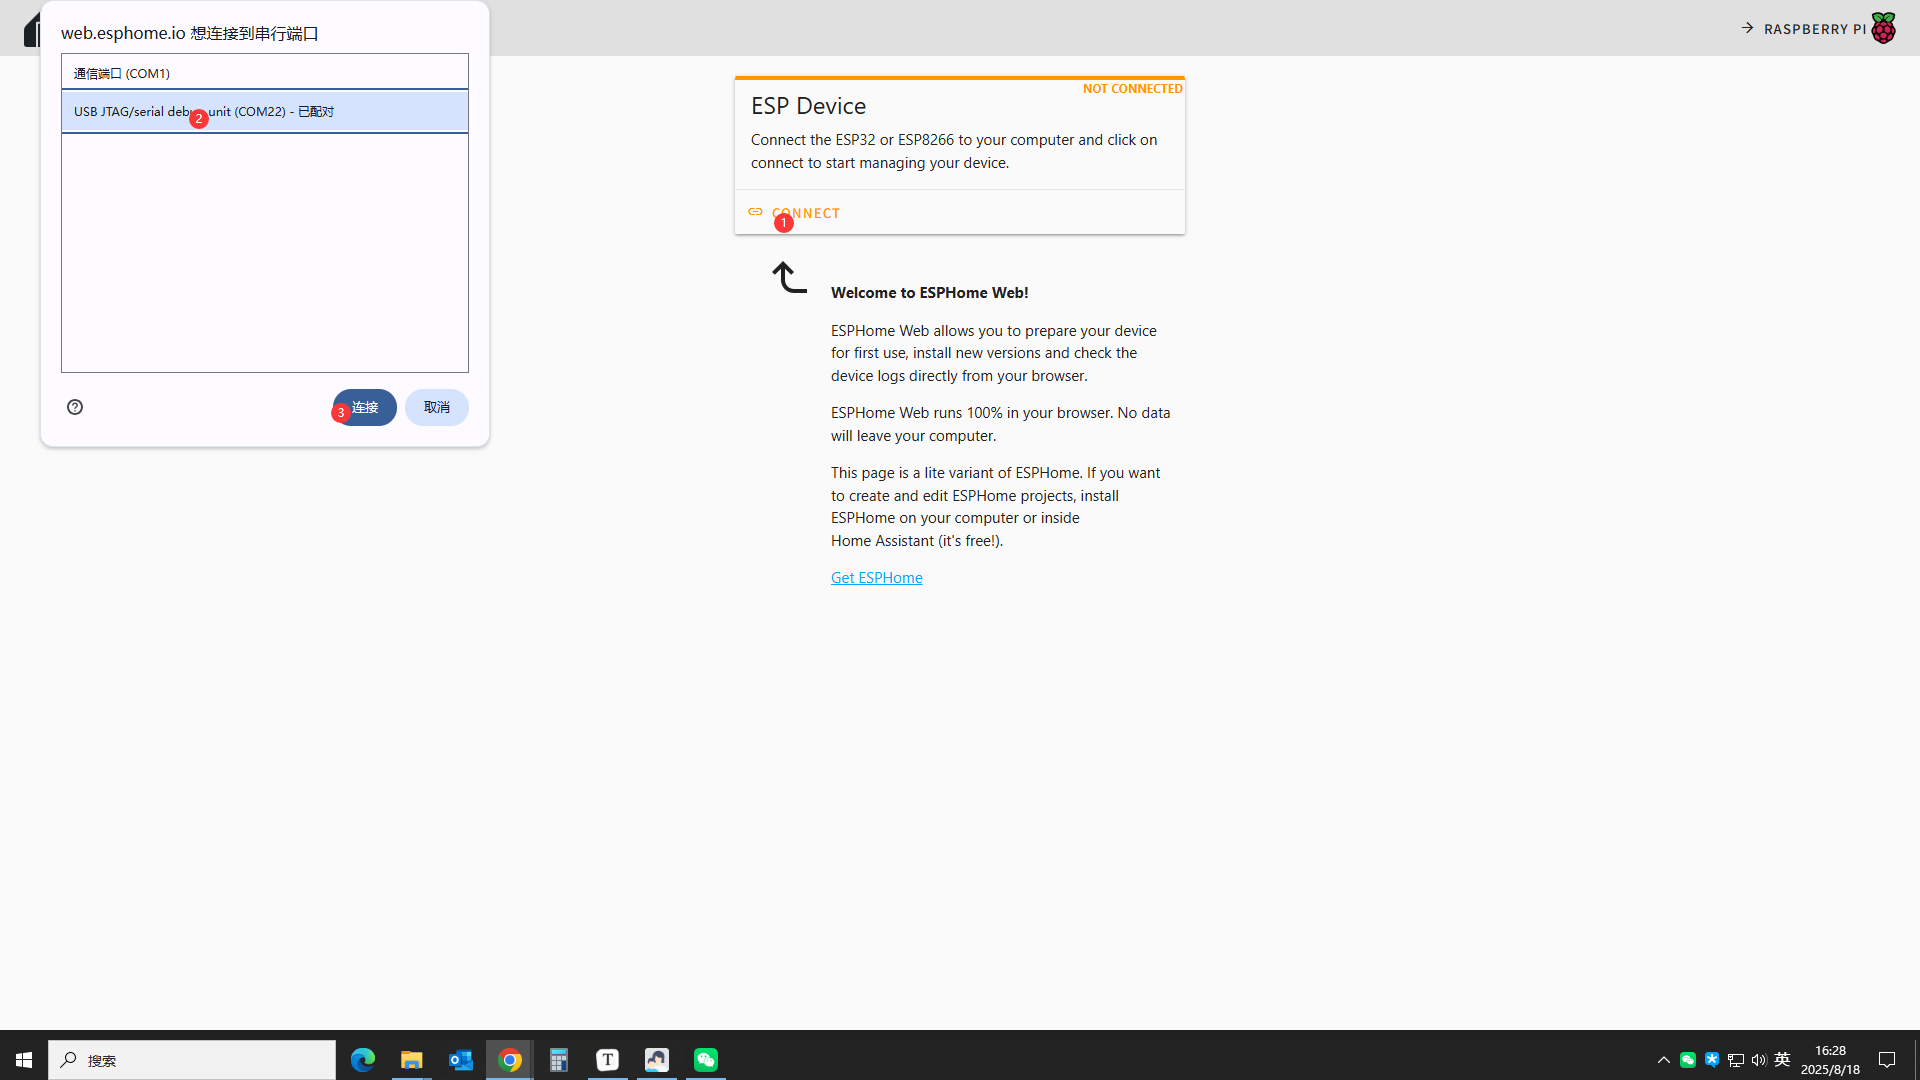
将开发板接入你使用的电脑,并点击**"Open ESPHome Web"**

-
按如下顺序选择你的设备串口
-
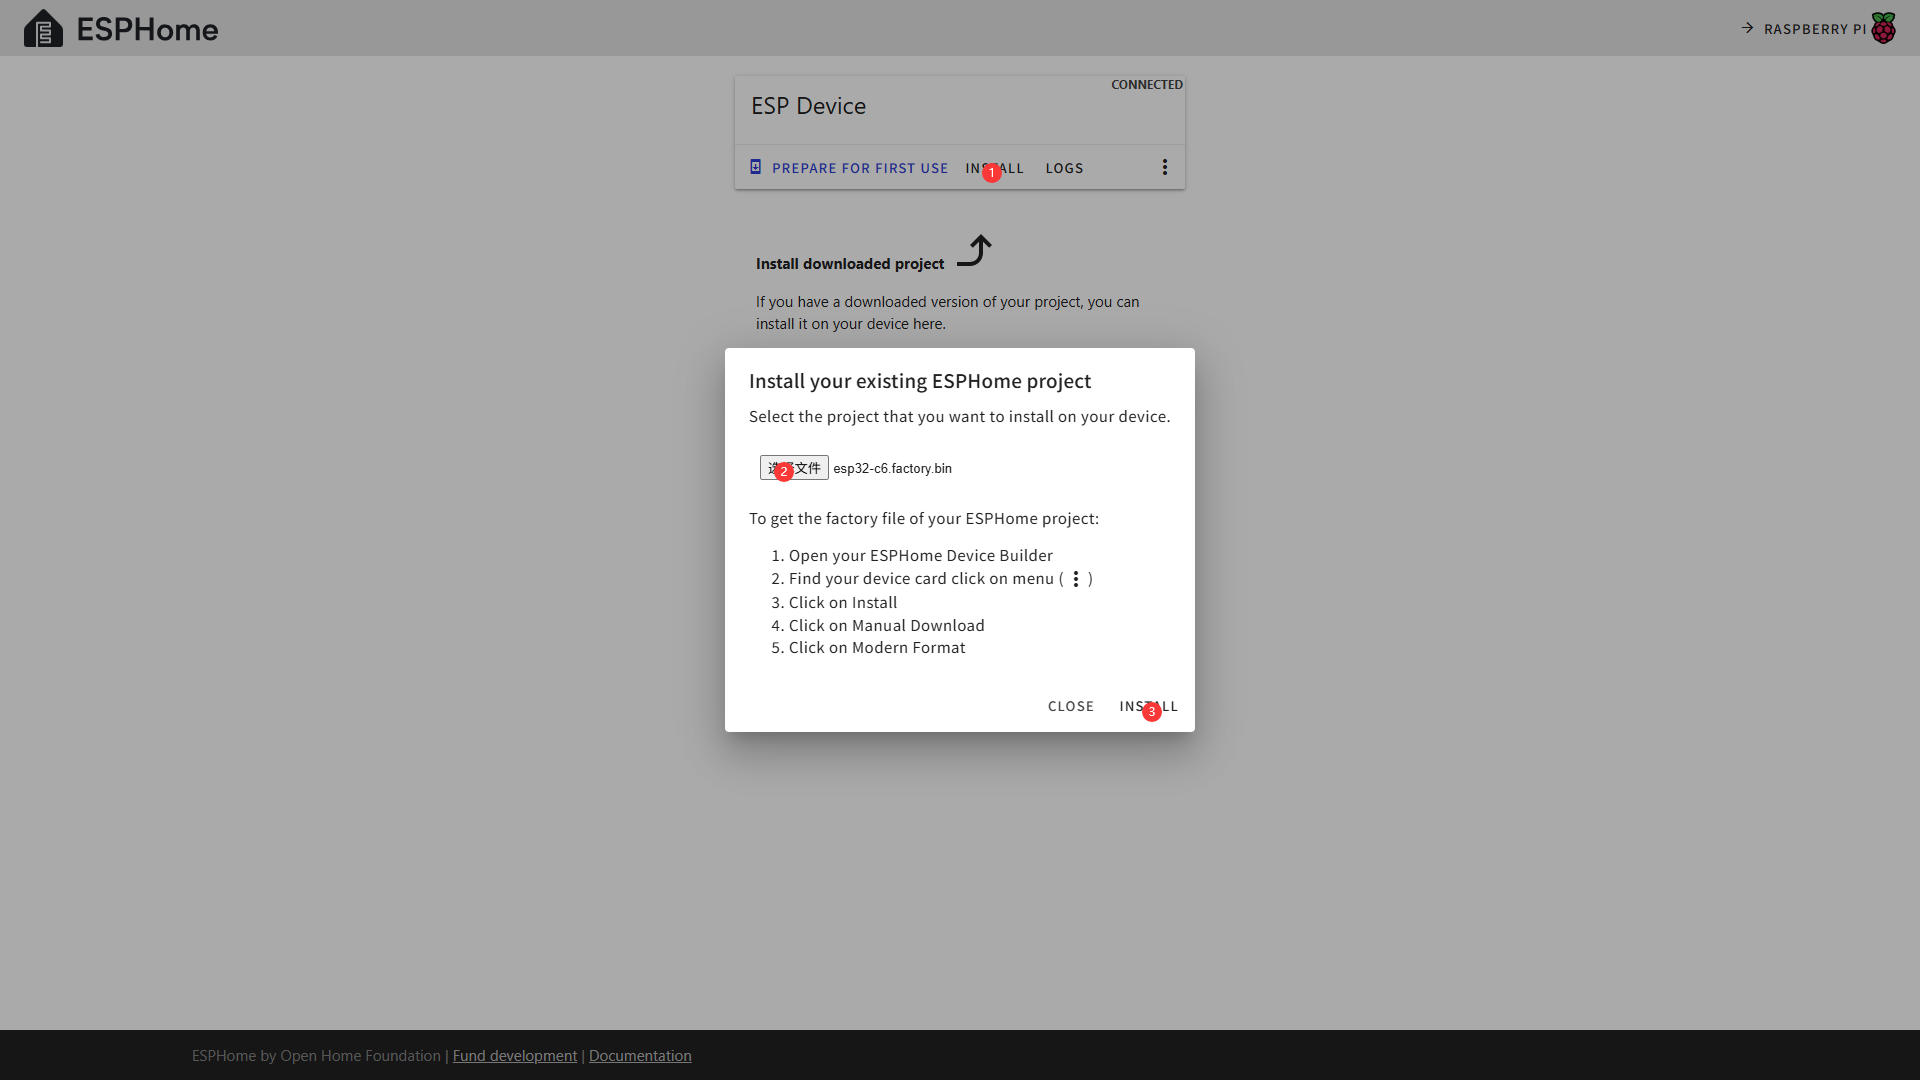
按如下顺序选择烧录的固件并烧录
-
等待烧录完成即可
接入HomeAssistant
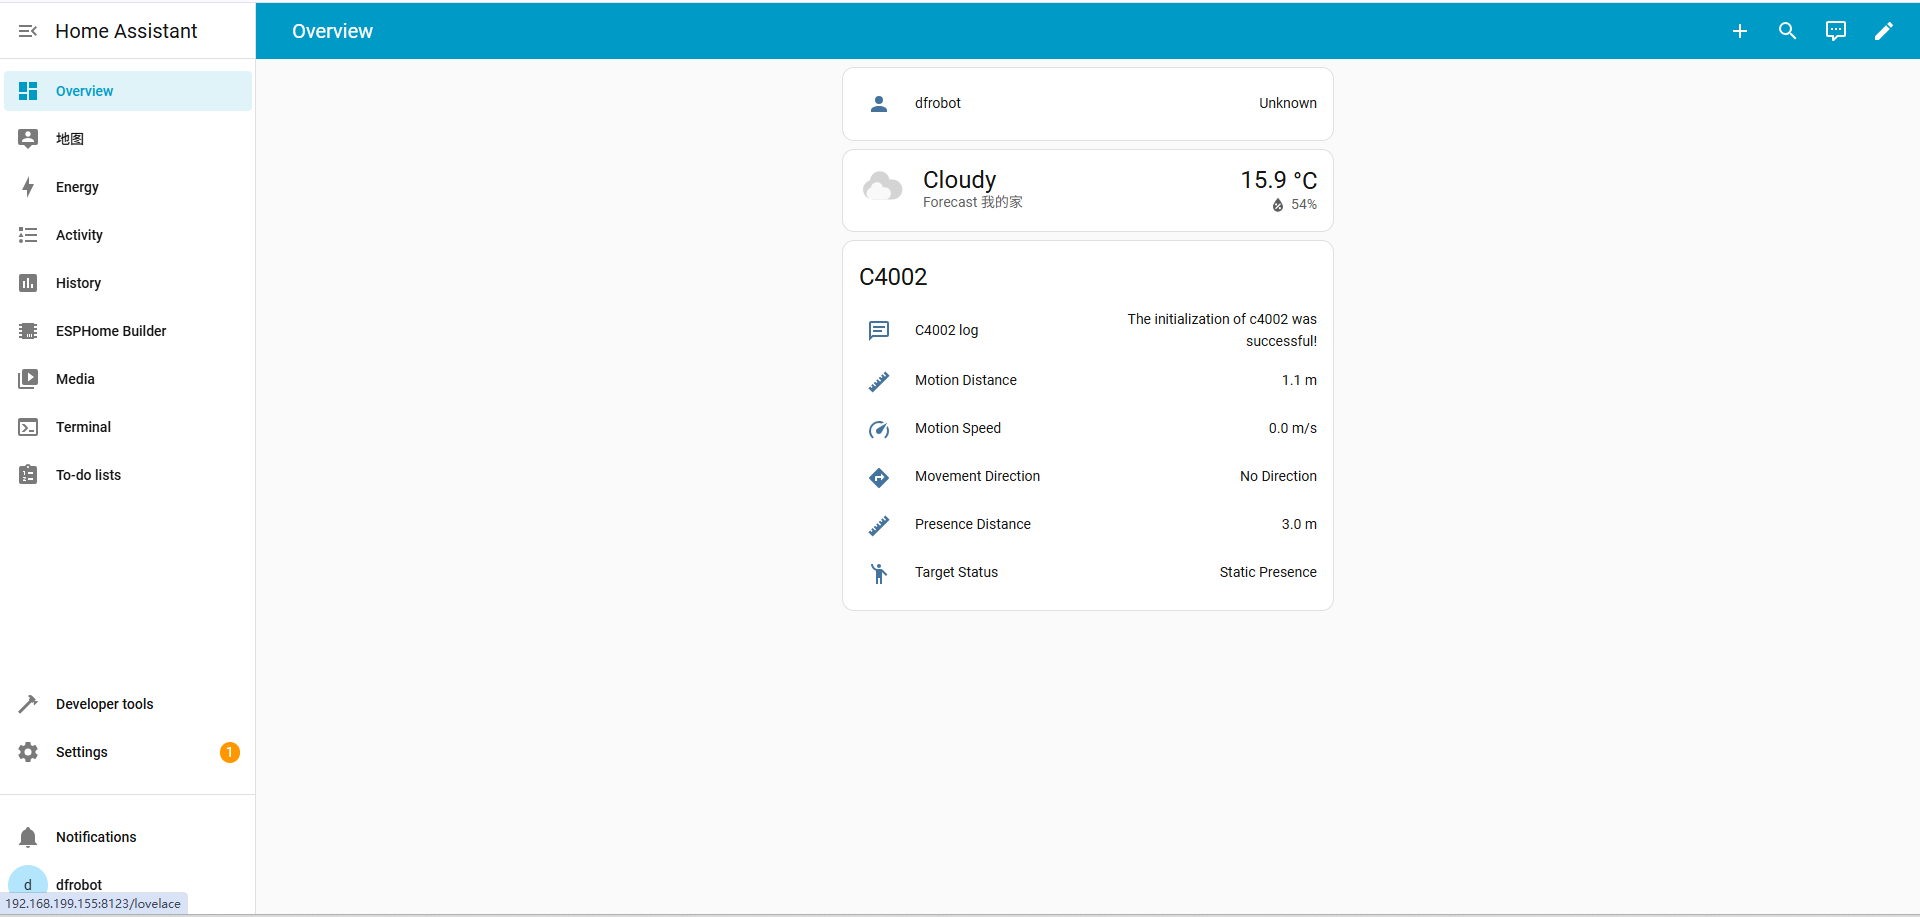
回到HomeAssistant主页,点击Settings>Devices & services可以看到你的设备信息
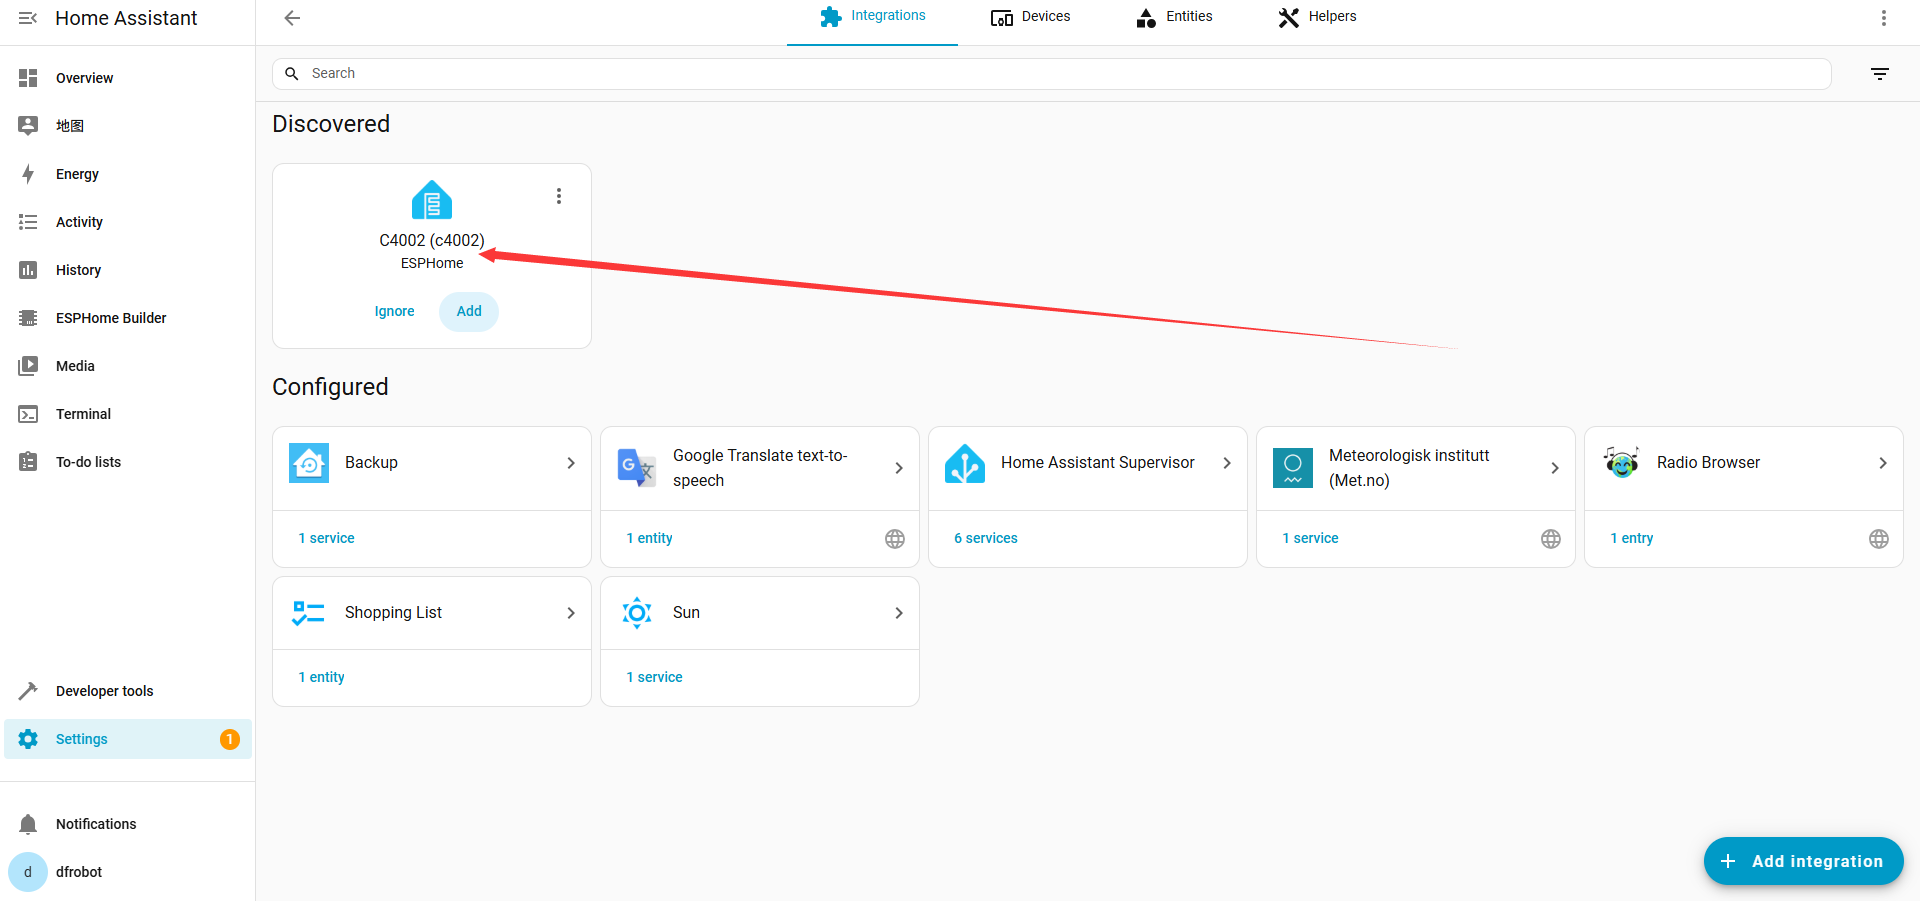
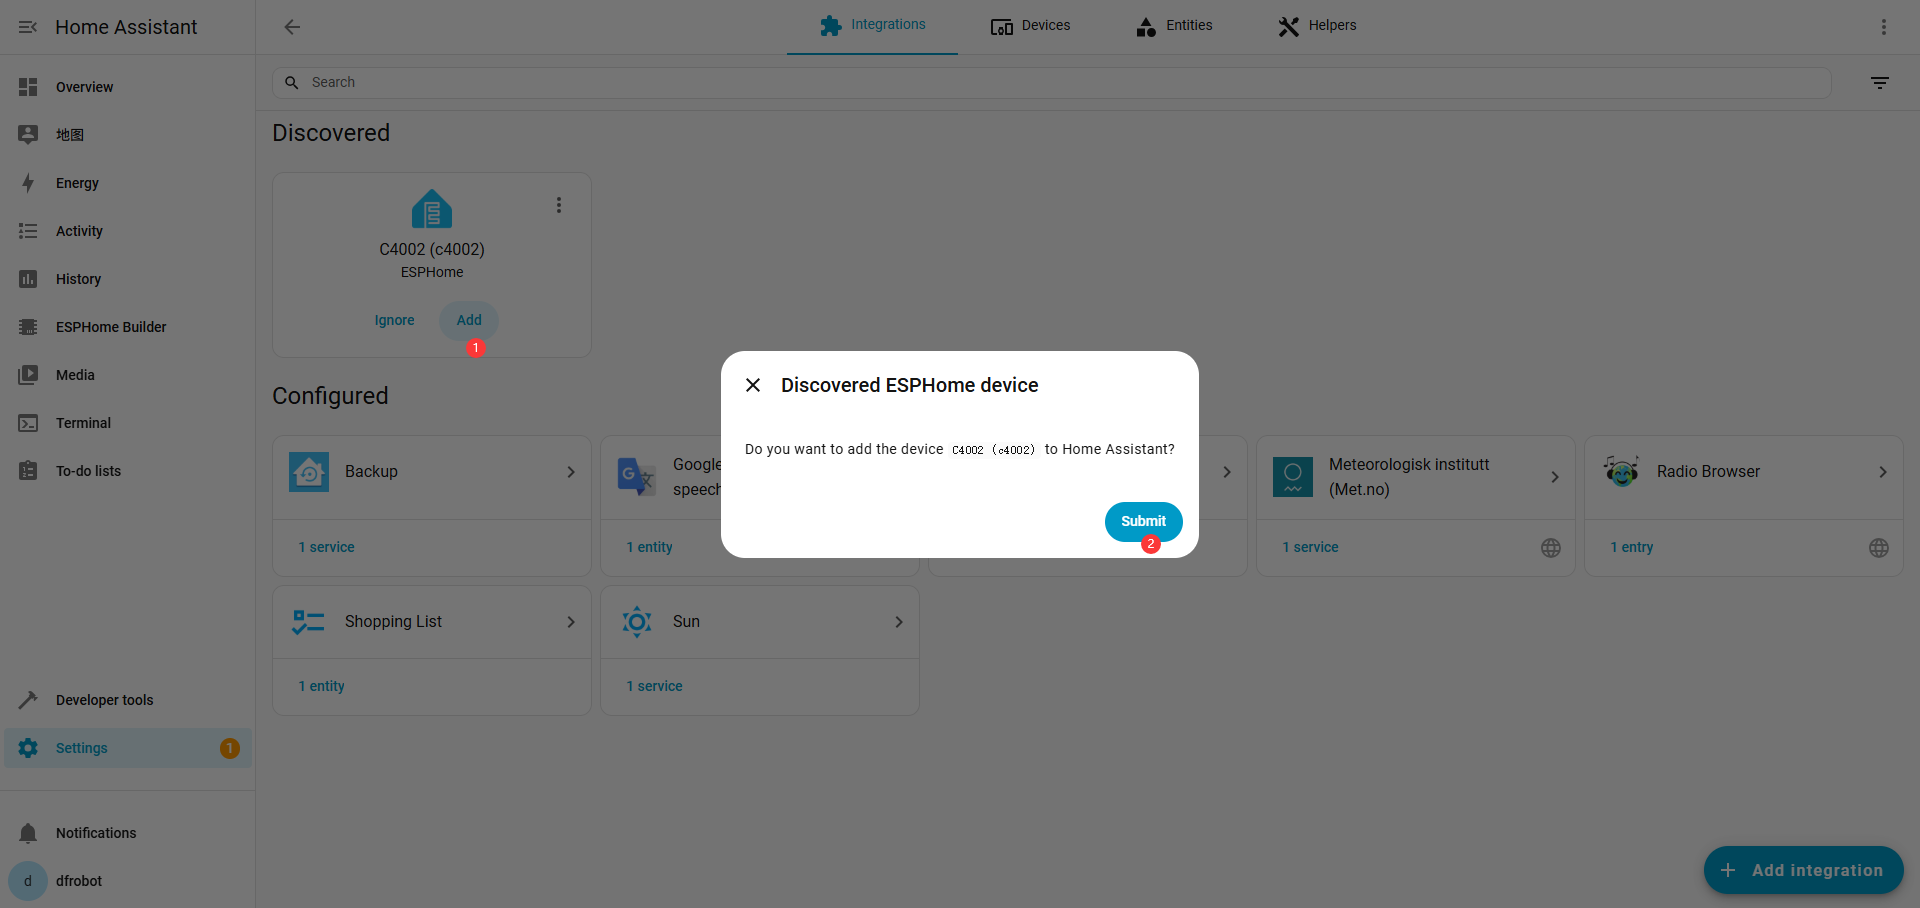
点击**"Add"**完成添加,可能需要输入Encryption key
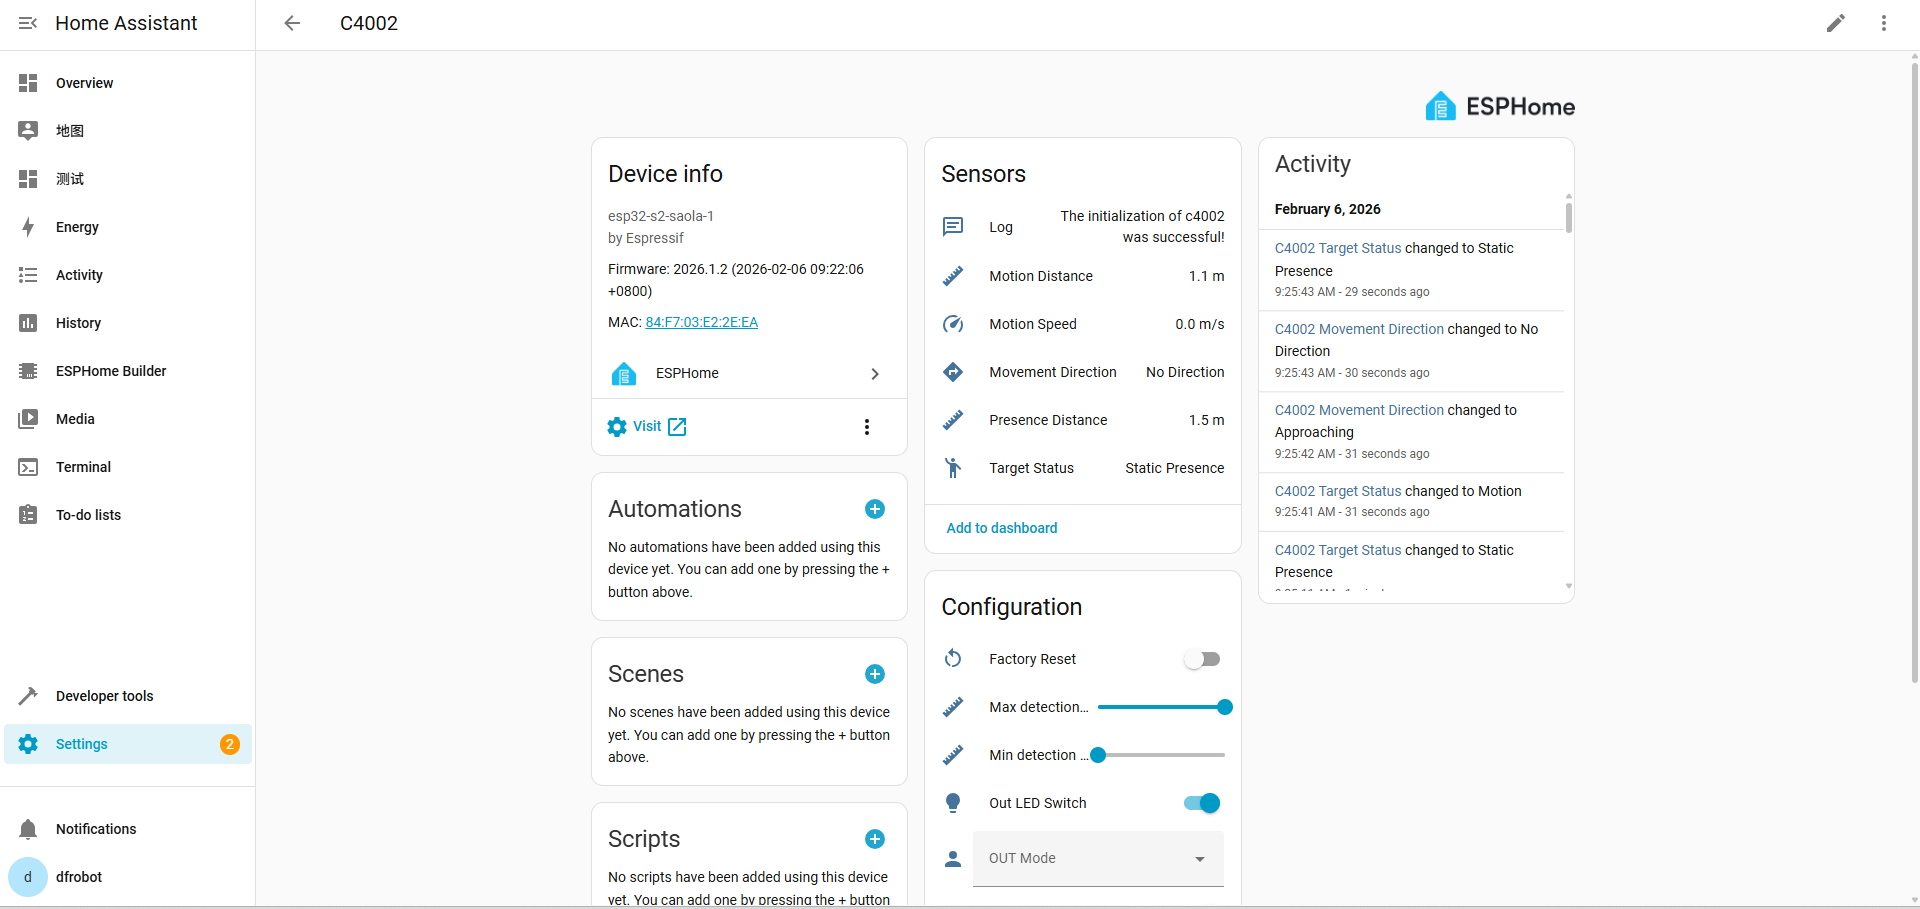
点击Settings>Devices & services>ESPHome>C4002可以看到你的设备信息