简介
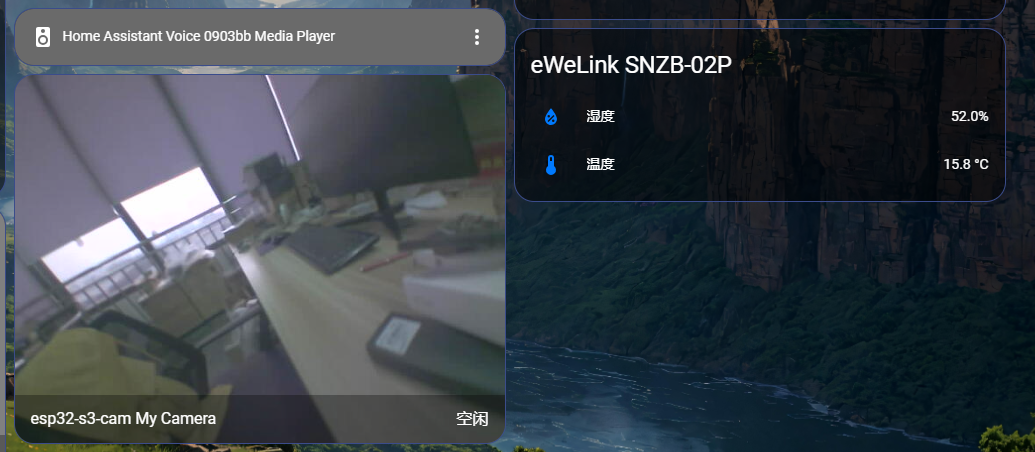
基于该教程可以将ESP32-S3摄像头模组添加到HomeAssistant中,并看到监控画面
教程
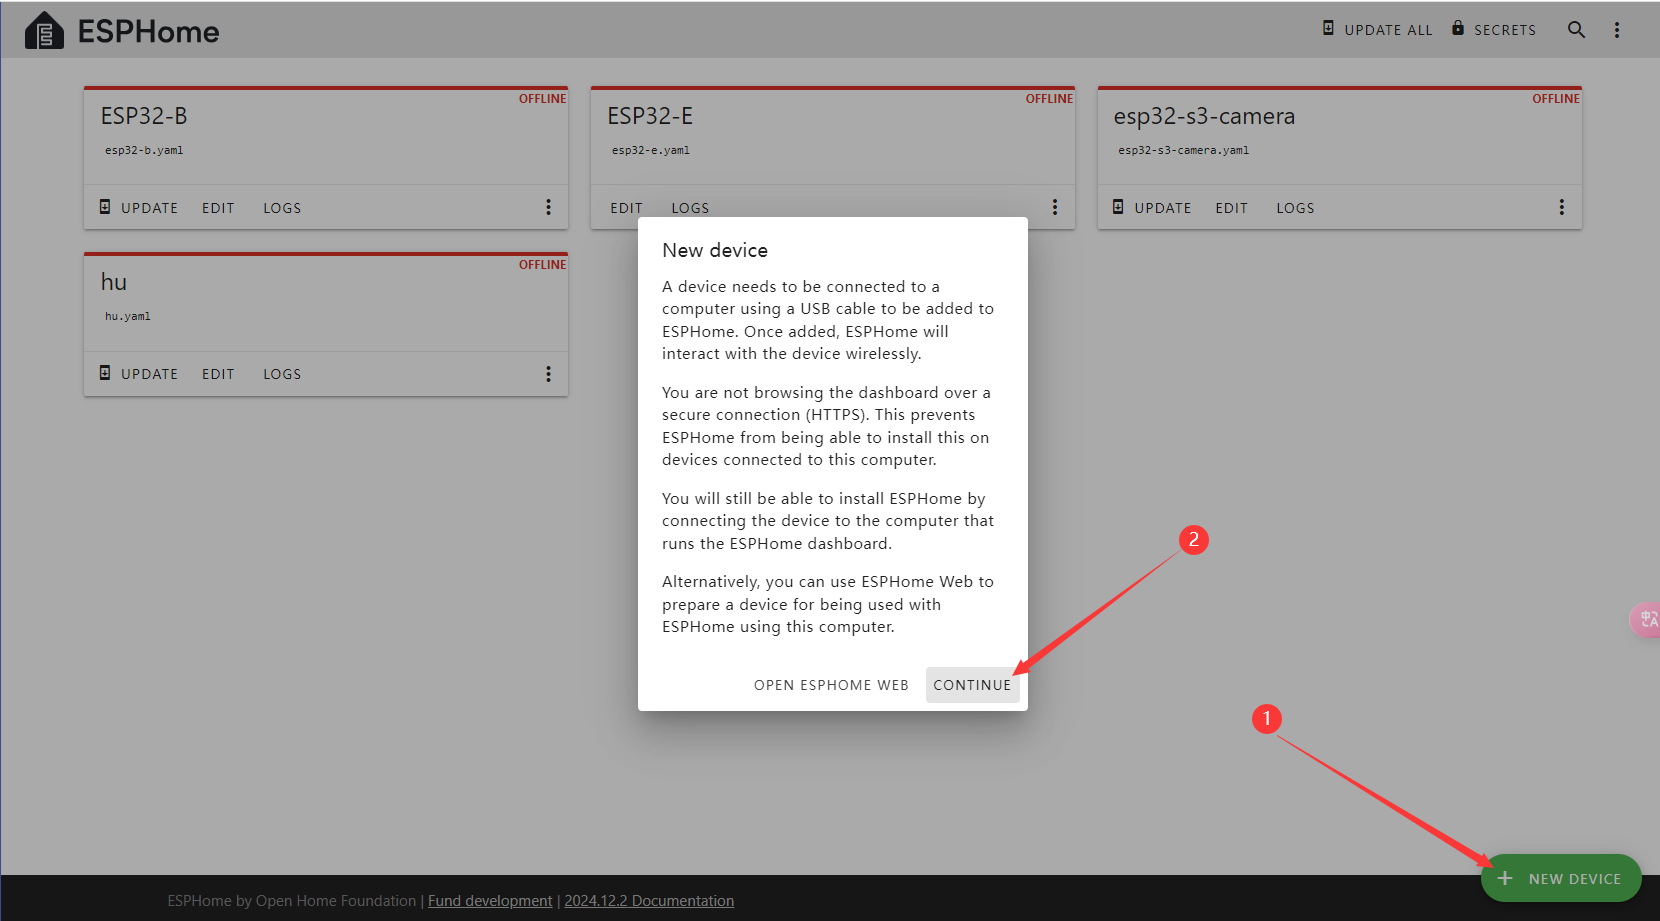
- 在设置-加载项-添加ESPHOME组件
- 在ESPHome中点击“NEX DEVICE”添加设备
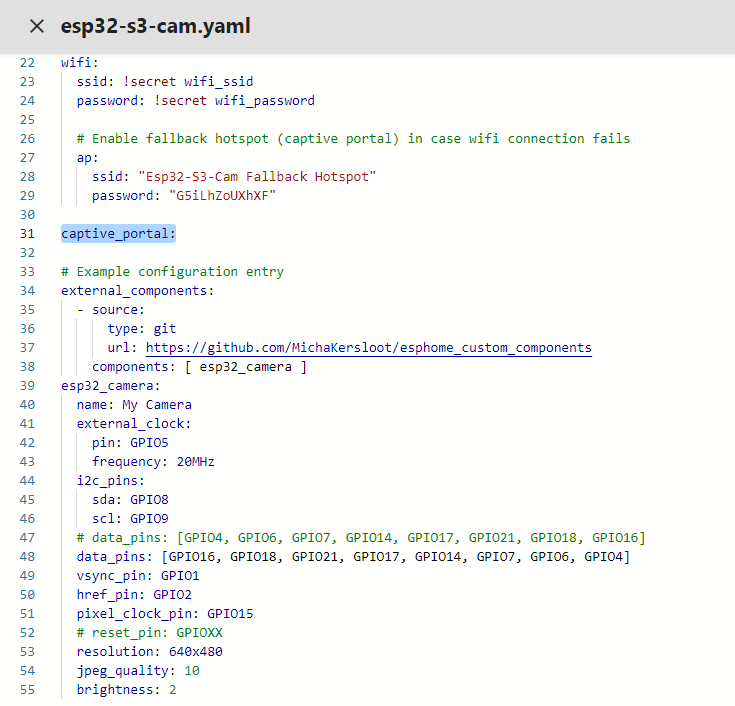
- 点击设备卡片的“EDIT”按键,将代码黏贴到“captive_portal:”下面
# Example configuration entry
external_components:
  - source:
      type: git
      url:
https://github.com/MichaKersloot/esphome_custom_components
    components: [ esp32_camera ]
esp32_camera:
  name: My Camera
  external_clock:
    pin: GPIO5
    frequency: 20MHz
  i2c_pins:
    sda: GPIO8
    scl: GPIO9
  # data_pins: [GPIO4, GPIO6, GPIO7, GPIO14, GPIO17, GPIO21, GPIO18, GPIO16]
  data_pins: [GPIO16, GPIO18, GPIO21, GPIO17, GPIO14, GPIO7, GPIO6, GPIO4]
  vsync_pin: GPIO1
  href_pin: GPIO2
  pixel_clock_pin: GPIO15
  # reset_pin: GPIOXX
  resolution: 640x480
  jpeg_quality: 10
  brightness: 2
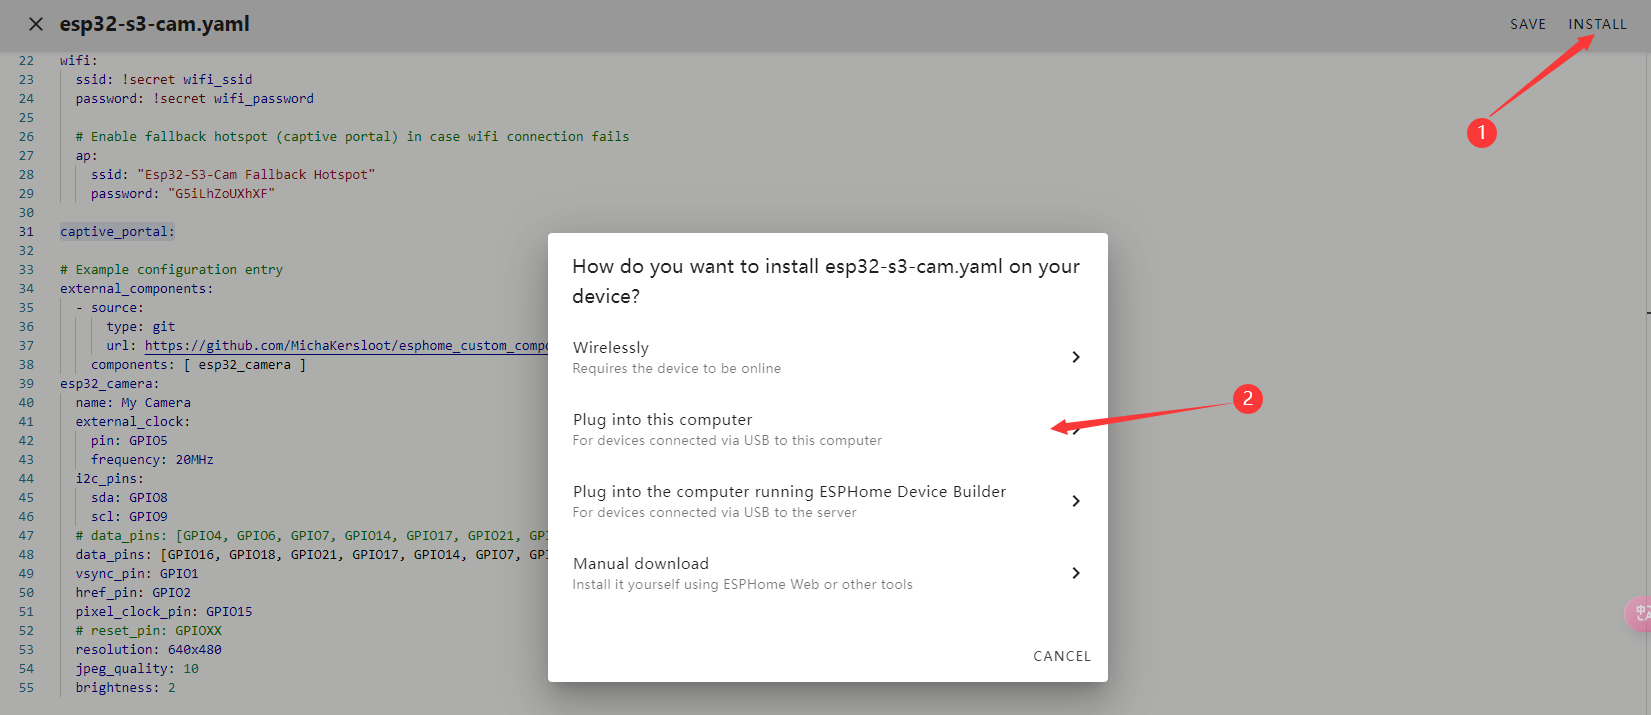
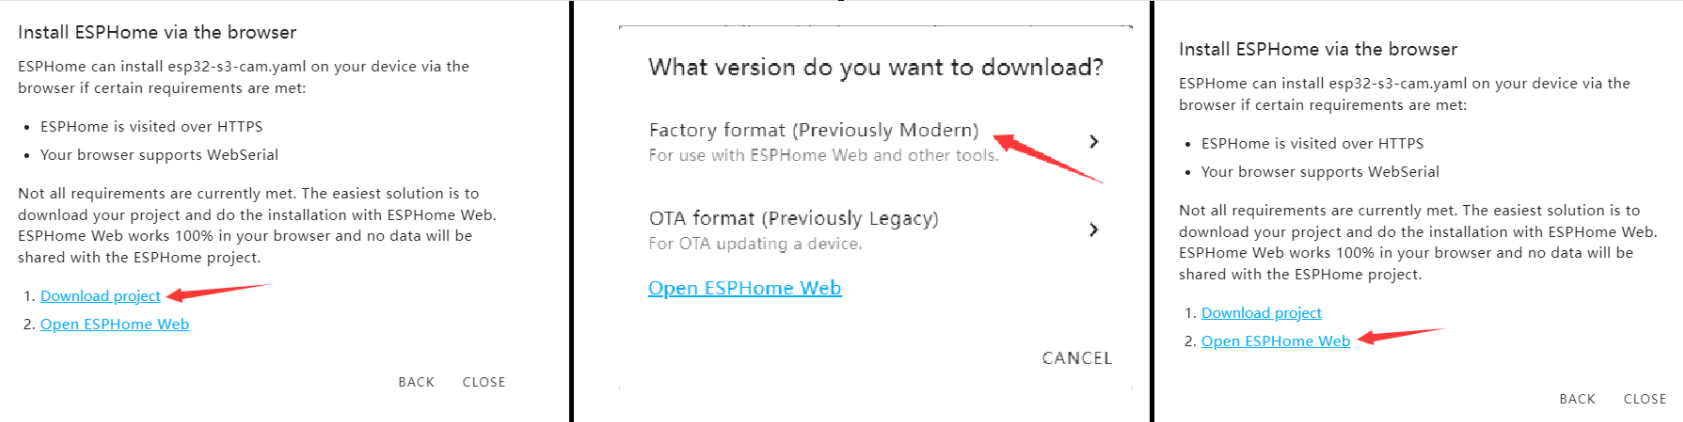
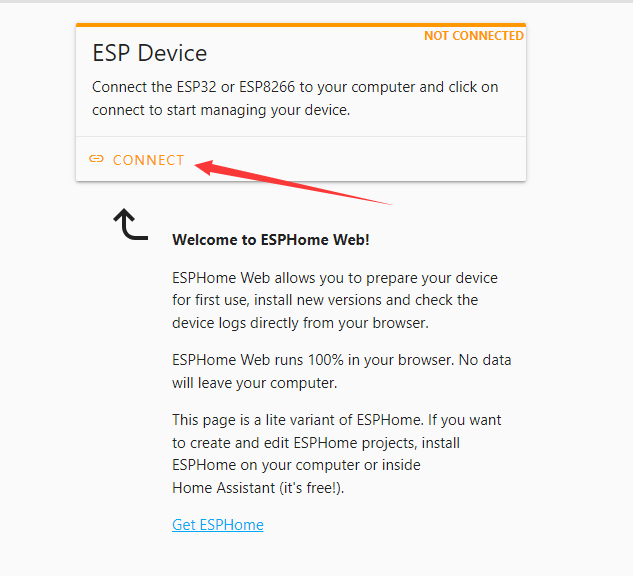
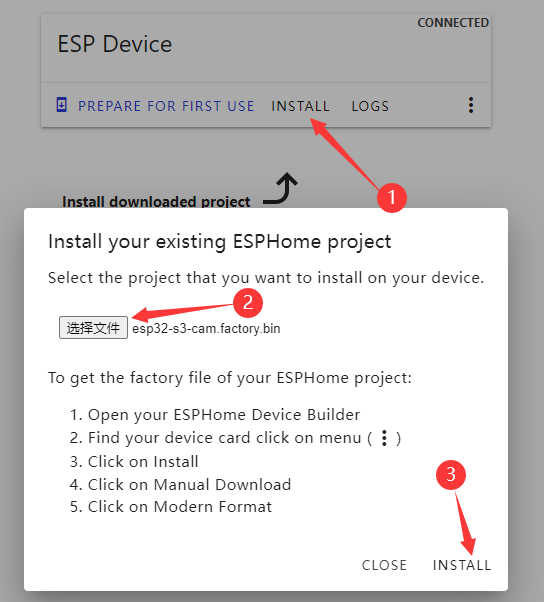
- 使用USB线缆将模块连接到电脑,点击“INSTALL”按键对模型进行烧录
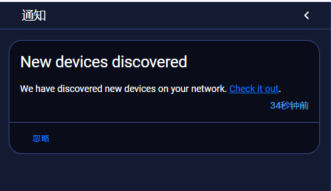
- 添加成功后成功连接WiFi即可在通知中看到新设备通知