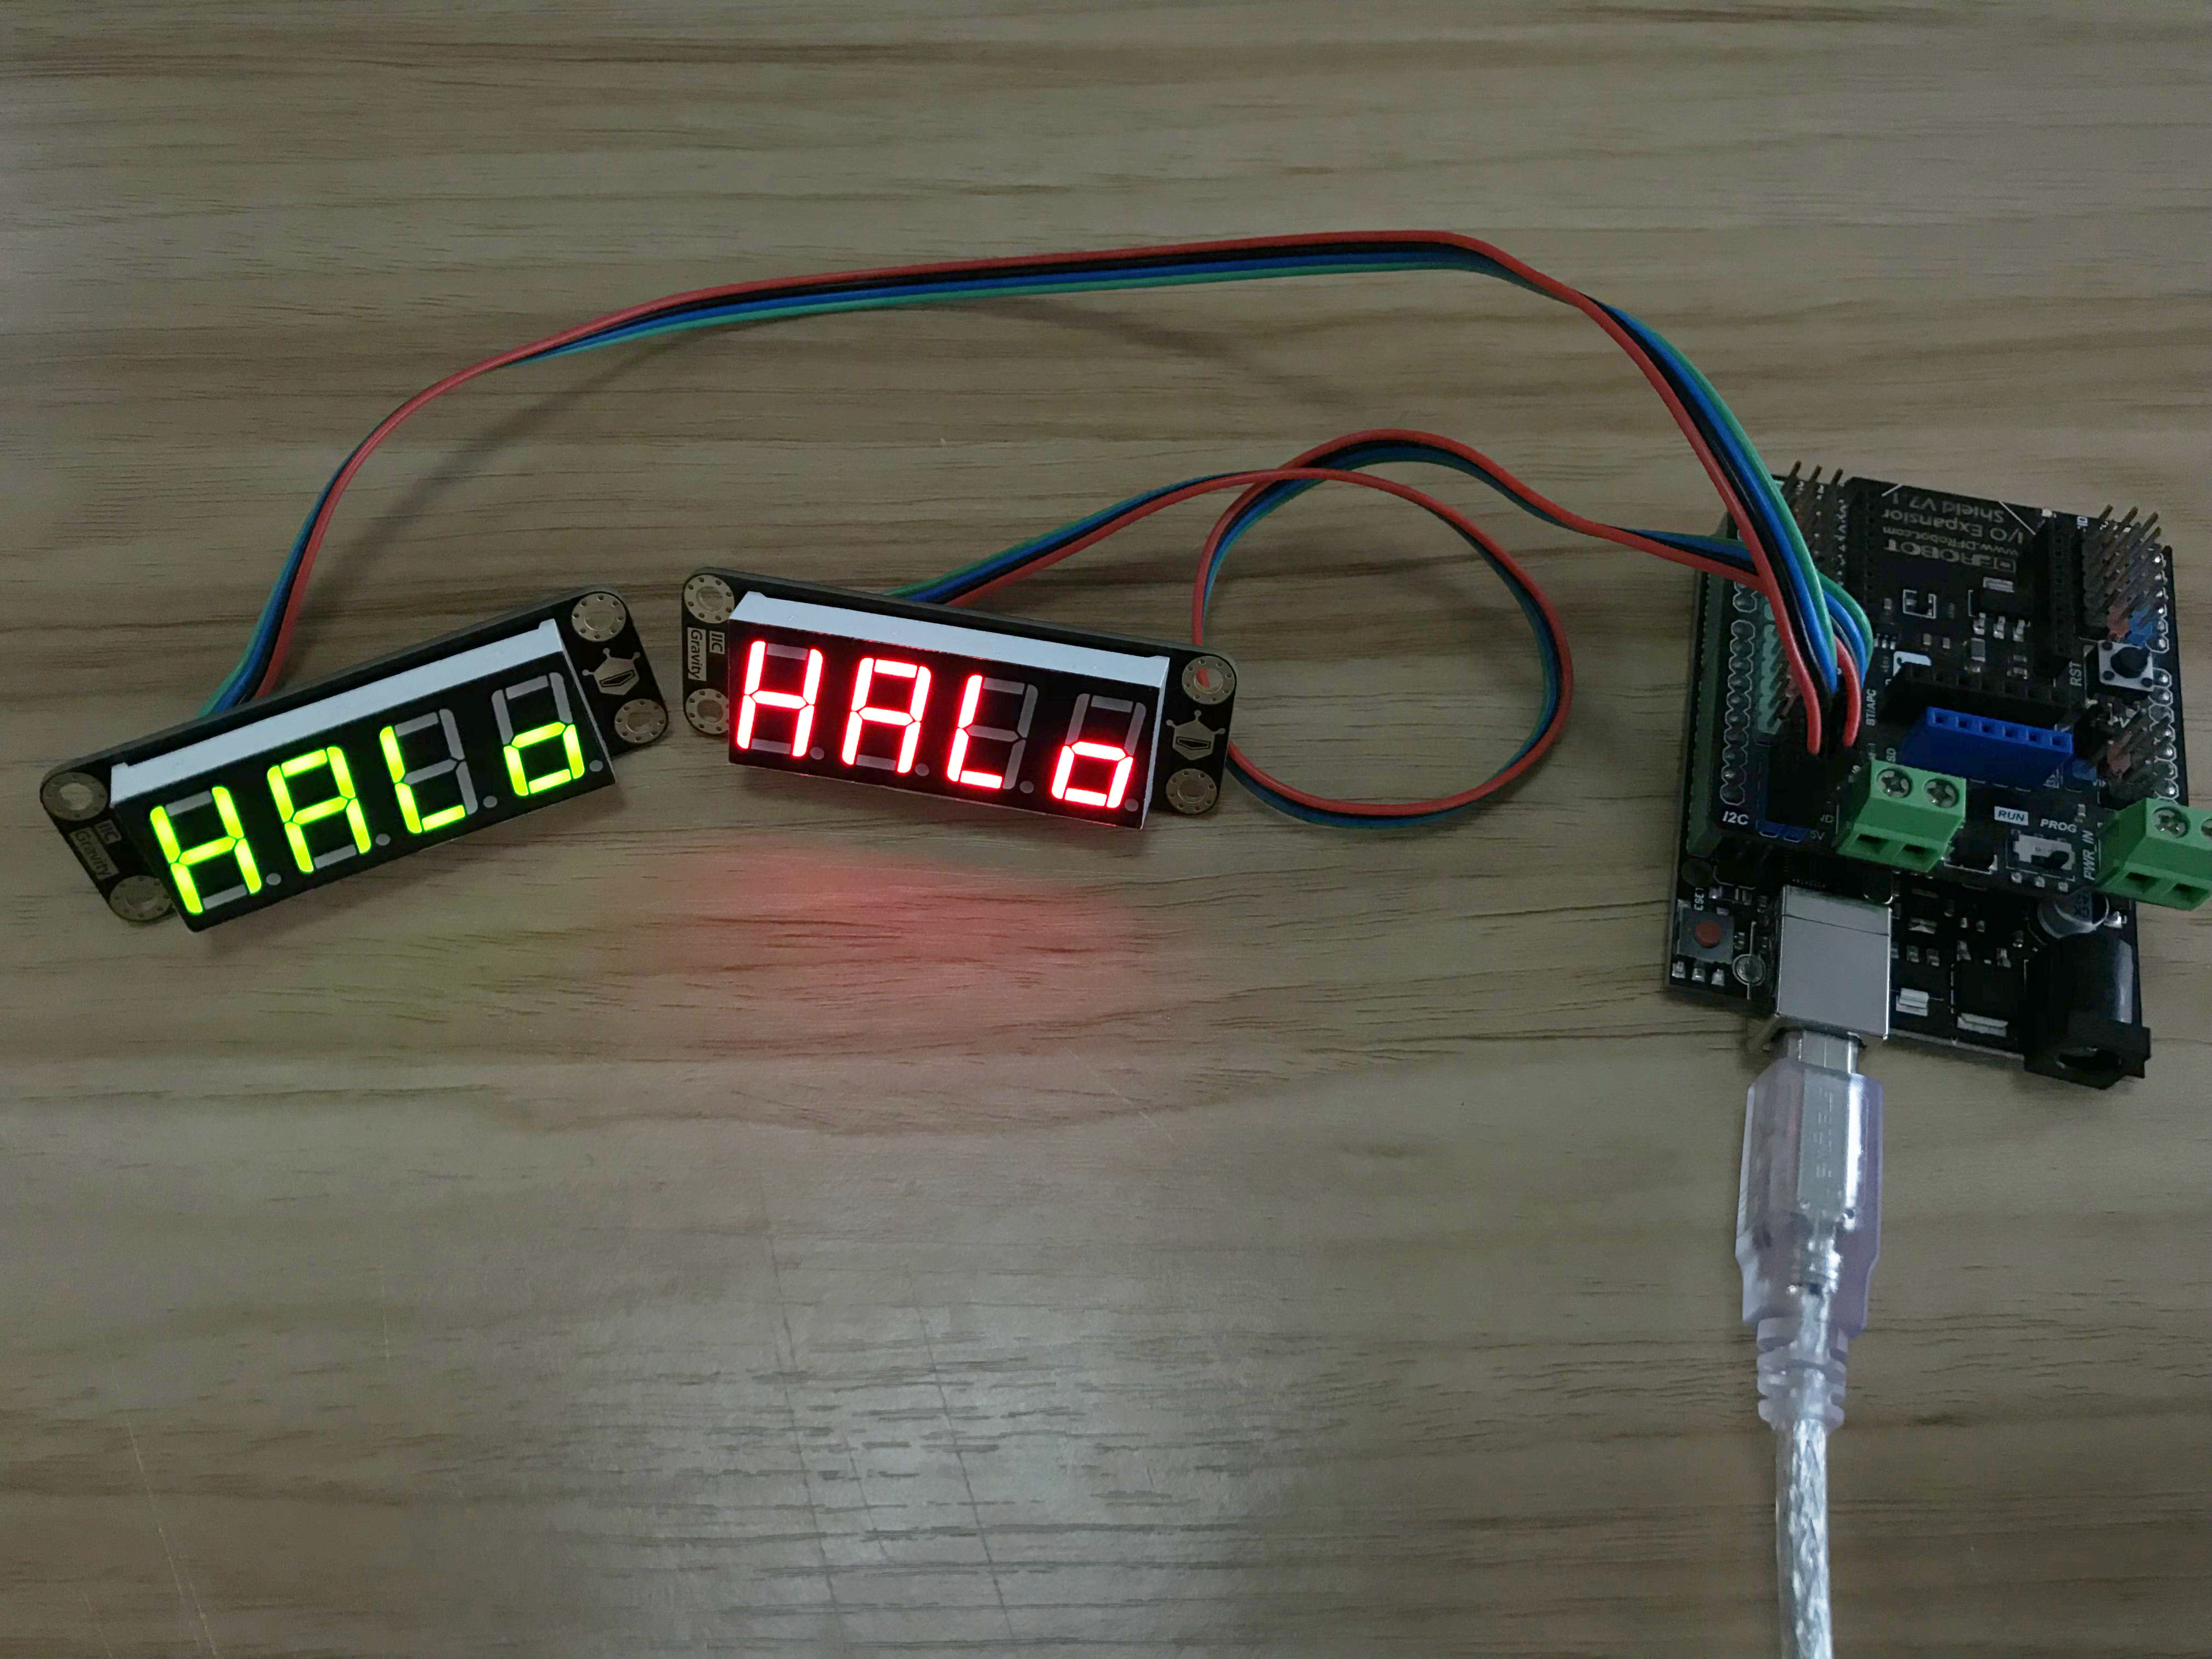
简介
这款4位数码管提供红、绿两种颜色选择,提供8级亮度调节,尺寸小巧,采用I2C接口只需要2个普通IO即可驱动,节约IO资源,不需要MCU扫描,节省MCU资源。
性能描述
- 供电:DC 5V
- 两种显示模式:8段×4位和7段×4位
- 工作电流:<55mA
- 提供8级亮度控制
- 键盘扫描:7×4bit内部集成三极管驱动
- 高速两线式串行接口
- 内置时钟振荡电路
- 内置上电复位电路
引脚说明

引脚说明:
| 名称 | 功能描述 |
|---|---|
| SDA | 数据线 |
| SCL | 控制线 |
| GND | 电源负极 |
| VCC | 电源正极 |
通信说明
I2C通信协议
微处理器的数据通过两线总线接口和数码管驱动芯片通信,在输入数据时当CLK是高电平时,DIN上的信号必须保持不变;只有CLK上的时钟信号为低电平时,DIN上的信号才能改变。数据的输入总是低位在前, 高位在后传输.数据输入的开始条件是CLK为高电平时,DIN由高变低;结束条件是CLK为高时,DIN由低电平变为高电平。符合标准I2C通信协议。

从机地址
该数码管从机地址为:0x48。
显示寄存器地址
| REG0 | REG1 | REG2 | REG3 |
|---|---|---|---|
| 68H | 6AH | 6CH | 6EH |
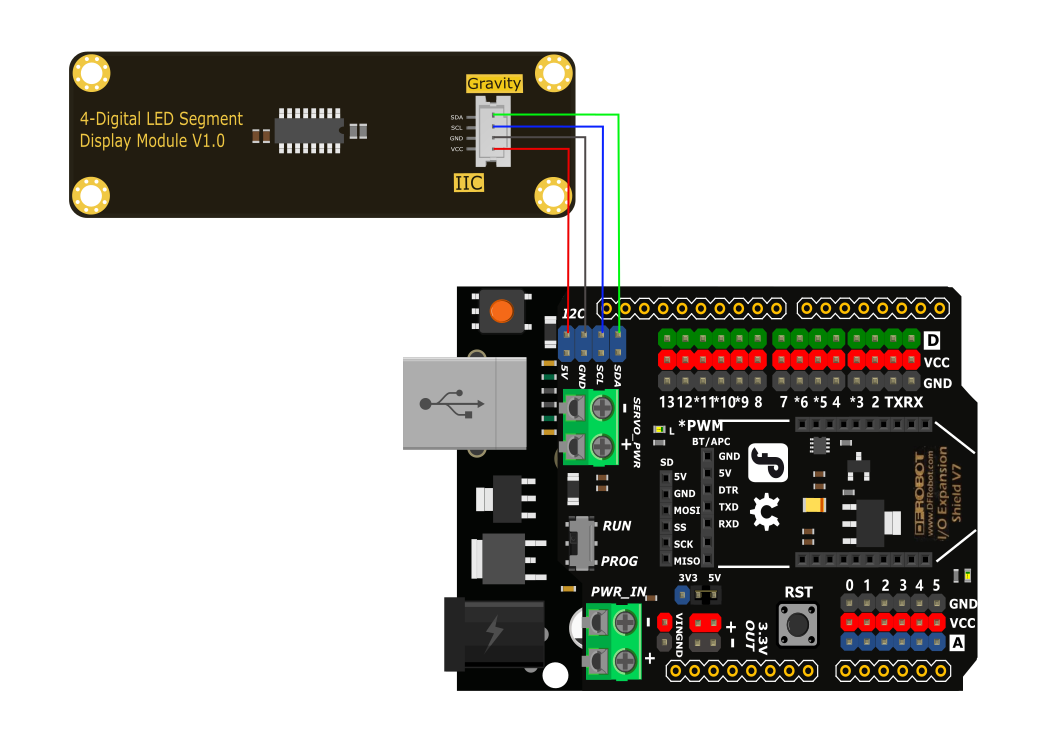
Arduino平台应用
Arduino 连接图
示例程序
    /*!
 * @file ledPrint.ino
 * @brief Display experiment of the digital tube
 * @n Experiment phenomenon: The digital tube displays "HALO",and in one second, displays "H.A.L.O.", then show value of the variable val after one second
 * @copyright   Copyright (c) 2010 DFRobot Co.Ltd (https://www.dfrobot.com)
 * @license     The MIT License (MIT)
 * @author [Actor](wenzheng.wang@dfrobot.com),[TangJie](jie.tang@dfrobot.com)
 * @version  V1.0.1
 * @data  2022-03-21
 * @url https://github.com/DFRobot/DFRobot_LedDisplayModule
 */
# include "DFRobot_LedDisplayModule.h"
/**
 * DFRobot_LedDisplayModule Constructor
 * Parameter &wire  Wire
 * In default, the IIC address of 8 bits digital tube is 0xE0
 * The IIC address of 8 bits digital tube can be changed by combining A1 and A0
 * 1  1  1  0  | 0  A1 A0 0
 * 1  1  1  0  | 0  0  0  0    0xE0
 * 1  1  1  0  | 0  0  1  0    0xE2
 * 1  1  1  0  | 0  1  0  0    0xE4
 * 0  0  1  0  | 0  1  1  0    0xE6
 */
//DFRobot_LedDisplayModule LED(&Wire, 0xE0);

/**
 * DFRobot_LedDisplayModule Constructor
 * In default, the IIC address of 4 bits digital tube is 0x48
 */
DFRobot_LedDisplayModule LED(&Wire, 0x48);

void setup()
{
  Serial.begin(115200);
  /*Wait for the chip to be initialized completely, and then exit*/
  while(LED.begin(LED.e4Bit) != 0)
  {
    Serial.println("Failed to initialize the chip , please confirm the chip connection!");
    delay(1000);
  }

  /**
   * Set the display area to 1, 2, 3, 4
   * It can show 4 bits, the region of each parameter is 1~4
   * Please resend the display value if the display area is changed
   */
  LED.setDisplayArea(1,2,3,4);
}

void loop()
{
  /**
   * Display "HALO"
   * At present, it only supports showing the numbers 0 to 9, capital letters A, B, C, D, E, F, H, L, O, P, U and dash-,
   * and you can also bring decimal points, such as "0." "9." "A." "-."
   */
  LED.print("H","A","L","O");
  delay(1000);

  LED.print("H.","A.","L.","O.");
  delay(1000);

  /**
   * Show a viriable value
   * The viriable could be both integer and decimal
   * Here it can be compatible with the sensor return value, such as temperature, humdity and so on
   */
  double val = 13.25;
  LED.print(val);
  delay(1000);
}
Mind+(基于Scratch3.0)图形化编程
1、下载及安装软件。下载地址:https://mindplus.cc 详细教程:安装教程
2、切换到“上传模式”。 详细教程:Mind+基础wiki教程-上传模式编程流程
3、“扩展”中选择“主控板”中的“Arduino Uno”。显示器中加载TM1650四位数码管。 详细教程:Mind+基础wiki教程-加载扩展库流程
4、进行编程,程序如下图:
5、菜单“连接设备”,“上传到设备”。

显示效果